How to setup a Freifunk node
Many of us are currently at home, having video conferencing, online school lessons, and using the Internet more than ever. Therefore, many people here in Germany have increased their internet capacity so that all household members can work at the same time without any problems.


Introduction
Many of us are currently at home, having video conferencing, online school lessons, and using the Internet more than ever. Therefore, many people here in Germany have increased their internet capacity so that all household members can work at the same time without any problems. However, some of our fellow human beings are less fortunate and either cannot afford an internet connection or only a very slow internet connection. As a fan of open infrastructures and networks, I gave my neighbors free WiFi by using an older router that I bought some time ago that is no longer in use. Quite a few older routers / access points can be reprogrammed so that they can function as WLAN hotspots. You don't have to worry about being held responsible for the illegal activities of others through your hotspot. All data traffic is routed via an exit node of the Freifunk project and is not routed directly out of your home connection.
Since I live near Munich, I will be following the steps required to set up a Freifunk Munich router. The steps should not be so different from those of other Freifunk communities in Germany, Austria or Switzerland. So let's start and get the hotspot up and running.
Disclaimer
I am not responsible for any bricked devices or damage to the hardware you are working with! You are responsible for all changes you make to your device. Changing the firmware may void your warranty. Before flashing the new firmware, find a recovery guide to restore the device in case something goes wrong, e.g. a power failure during the upgrade.
Prerequisites
- A computer or laptop with a network-compatible operating system and a "LAN / RJ45 socket" so that we can connect to the router via an Ethernet cable.
- Internet connection
- Browser
- A supported router (see the press release here)
Installation and configuration
Step 1: Identifying your routers model number
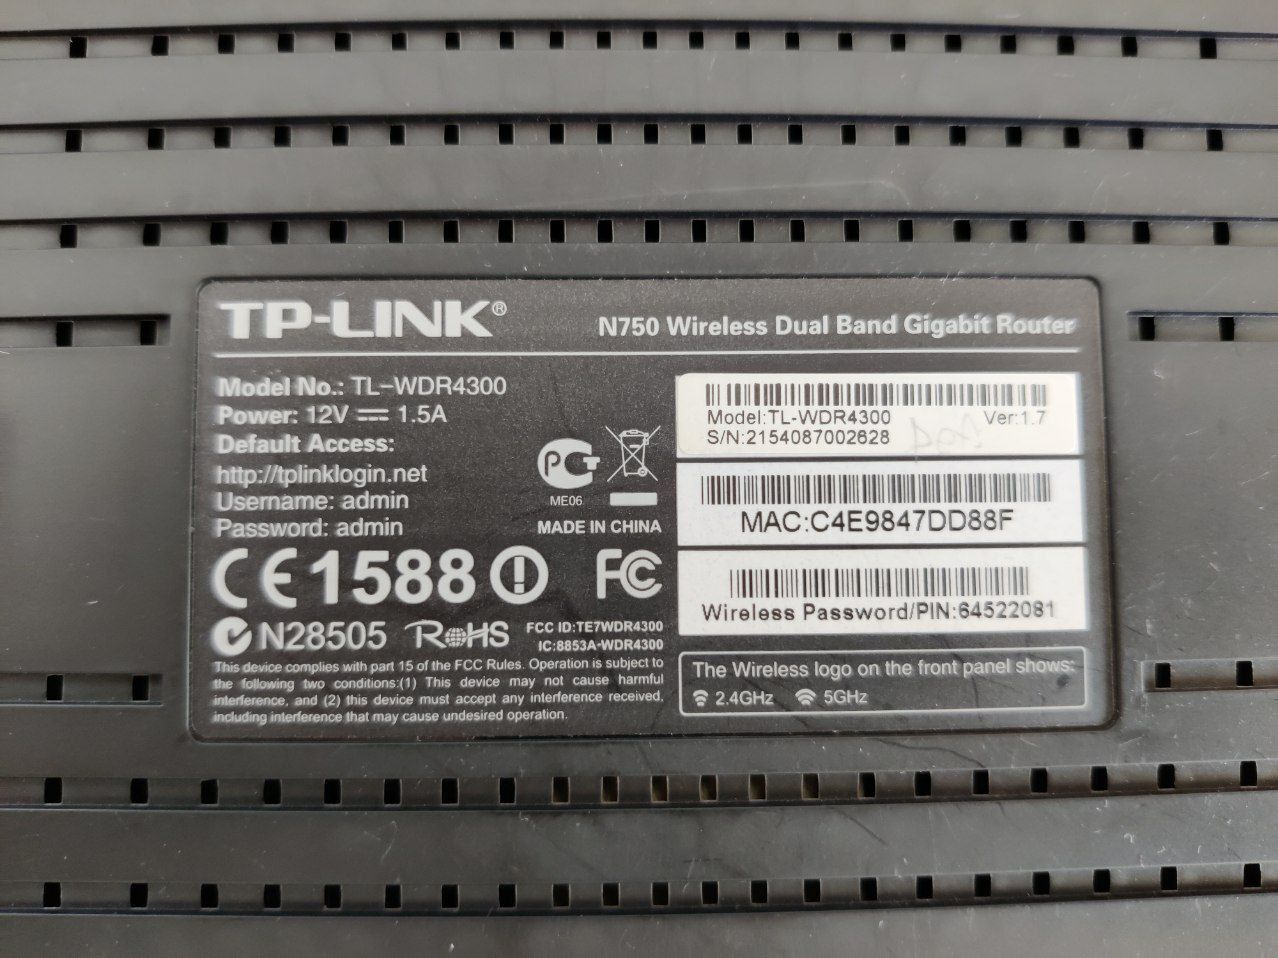
You must first identify the model number of your router and the corresponding revision of the device. You can almost always find this information on the type plate of the device next to the power specifications and directly above the serial number. I will do this guide with my trustworthy TP-Link N750 (TL-WDR4300 V1.7), which I saved from being scrapped after a failed update.
Step 2: Download the appropriate firmware and connect to the router
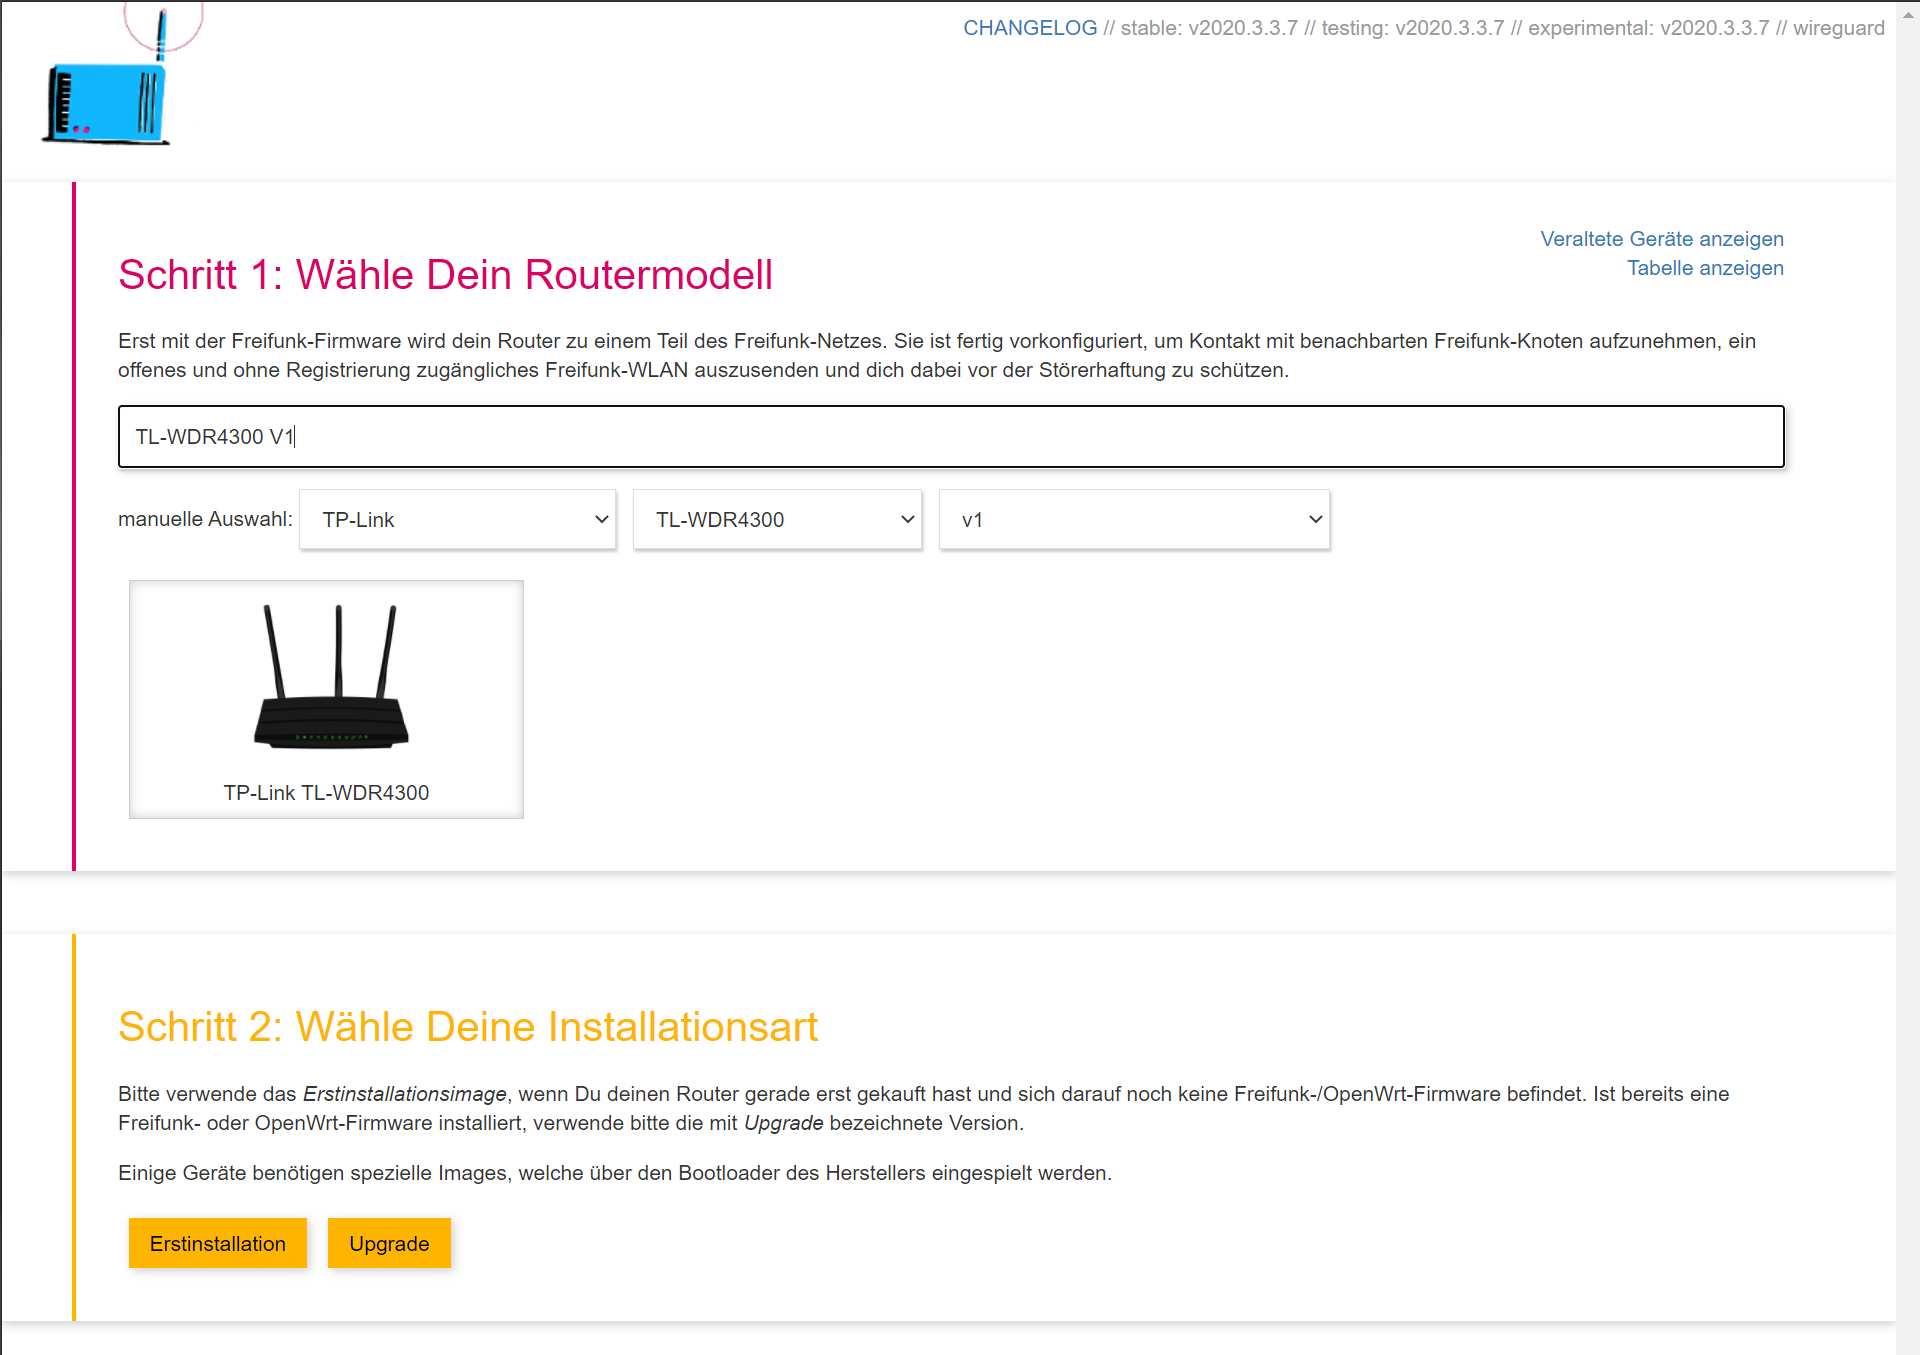
You must first download the appropriate firmware for your device. Usually you have two options: the first is the factory version and the second is the sysupgrade version. If your device is running the original manufacturer image, you should use the factory image. If your system is running a variant of OpenWRT, choose the Sysupgrade version. Most of the people who follow this guide will likely need to use the factory image. Now go to https://firmware.ffmuc.net/ and enter your model number or device name. If you don't already see it, check the "Show older devices" box and search for your model again. If you still don't see it, click the "View Table" link and see if your device is supported. There is a good chance your device will be supported if it already has full OpenWRT support.
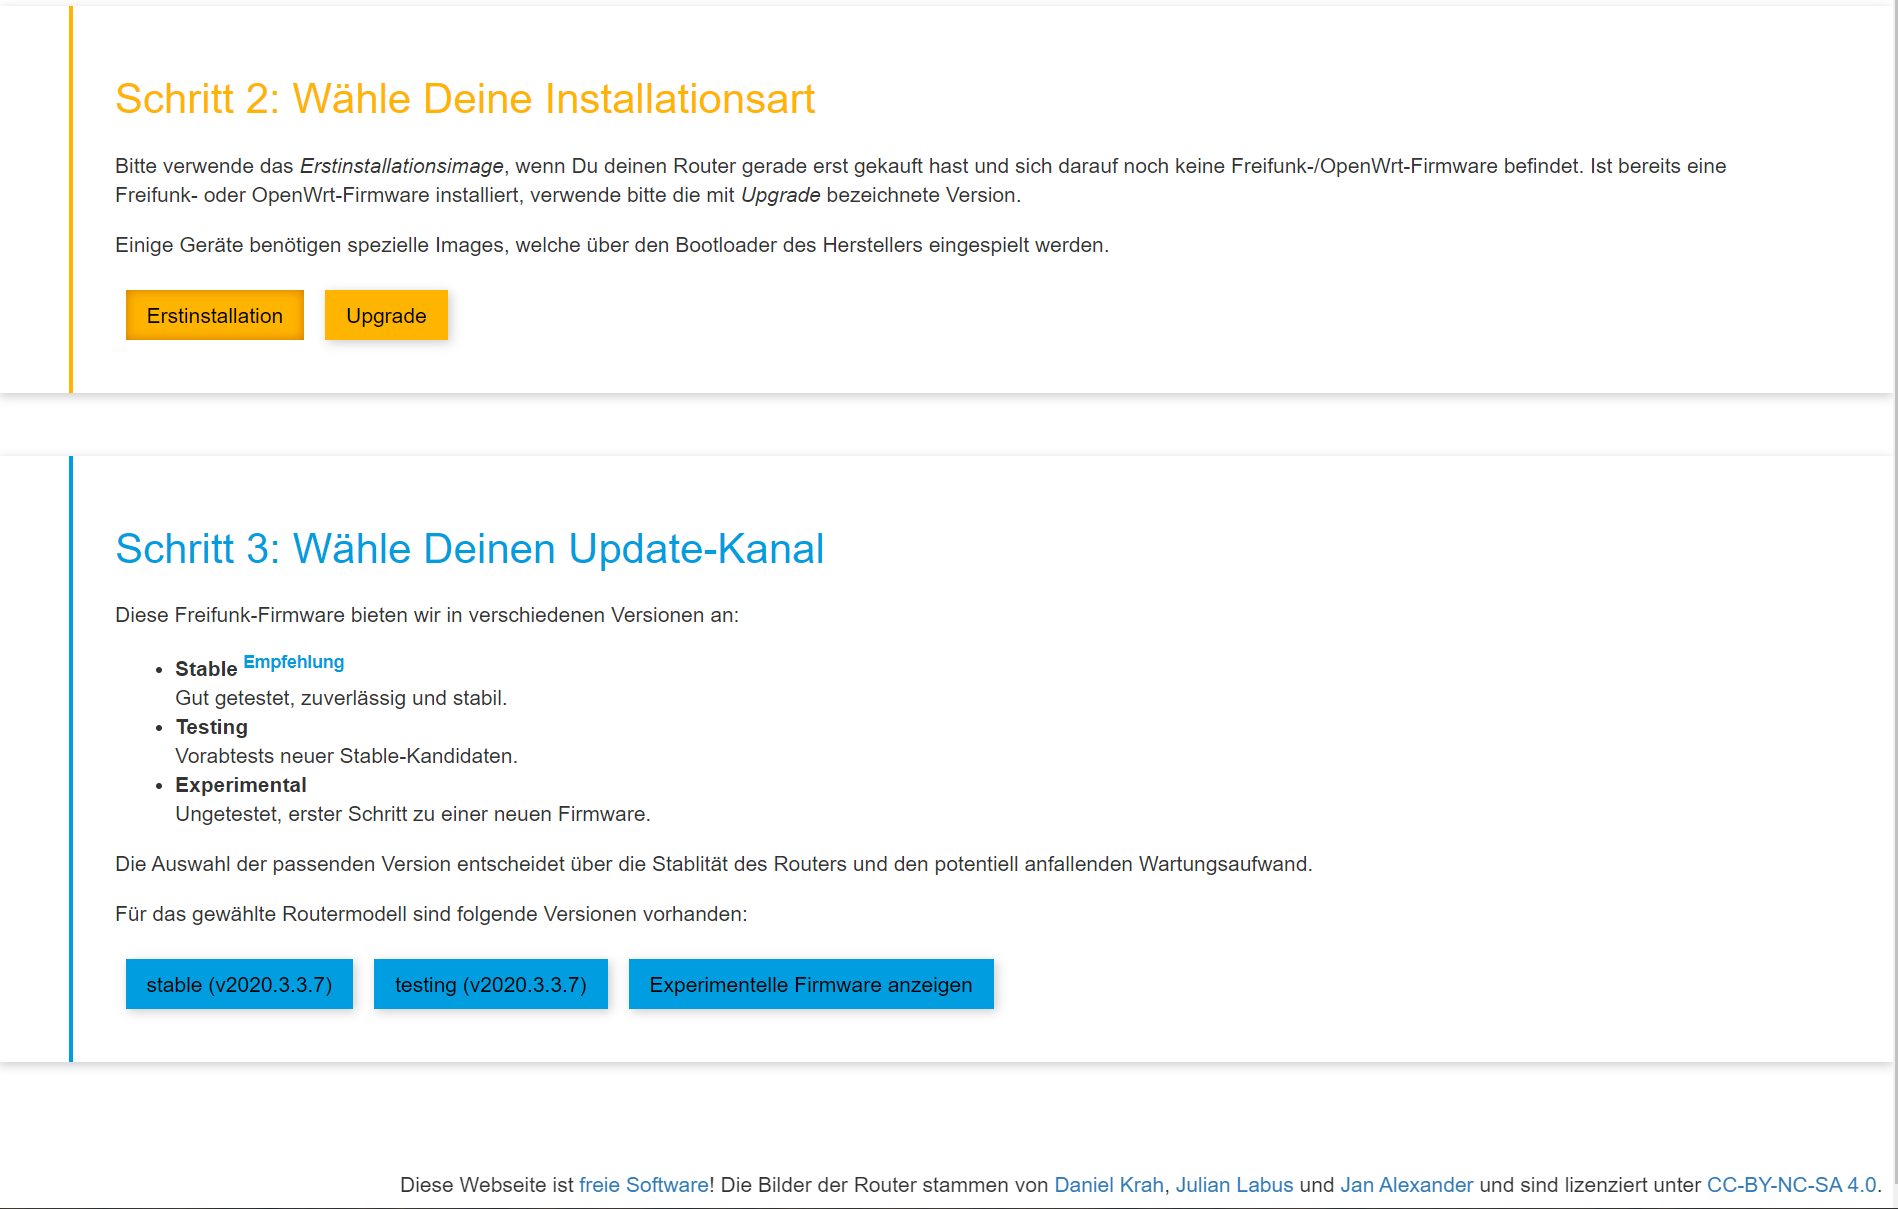
Now select "Erstinstallation" for Factory and "Upgrade" for Sysupgrade. I will continue with the factory install as I am still rocking the original manufacturer image. I recommend using the stable update channel as this guarantees reliable firmware and good results. Depending on the date you view this, the published version may have increased significantly. However, the installation process will not change that much. The file is only a few megabytes, so the download shouldn't take that long.
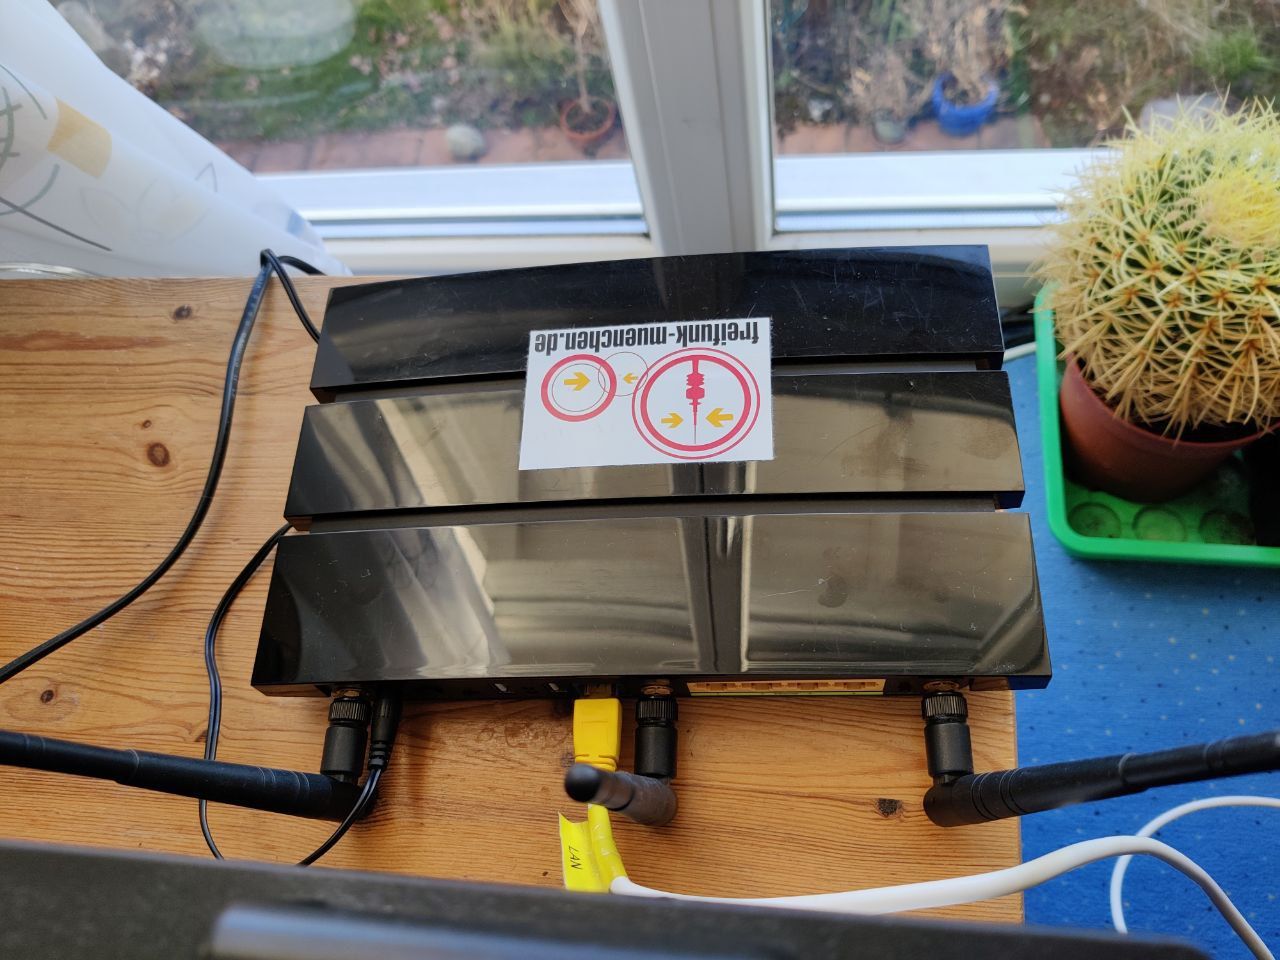
Now we have to connect our laptop or computer directly to the router using an Ethernet cable. Please do not use a switch that is intermittently connected to your home's intranet, as this can affect the DHCP server that is running on the router that we want to set up. Make sure you are not connected to your router's wide area network (WAN) connector as we cannot configure it from there. Use a LAN port (the yellow ones) and we're good to go. Take a look at Fig. 4 to see what I did.
Make sure the router is now plugged into the wall and wait for it to fully boot (start).

Step 3: Install the new firmware
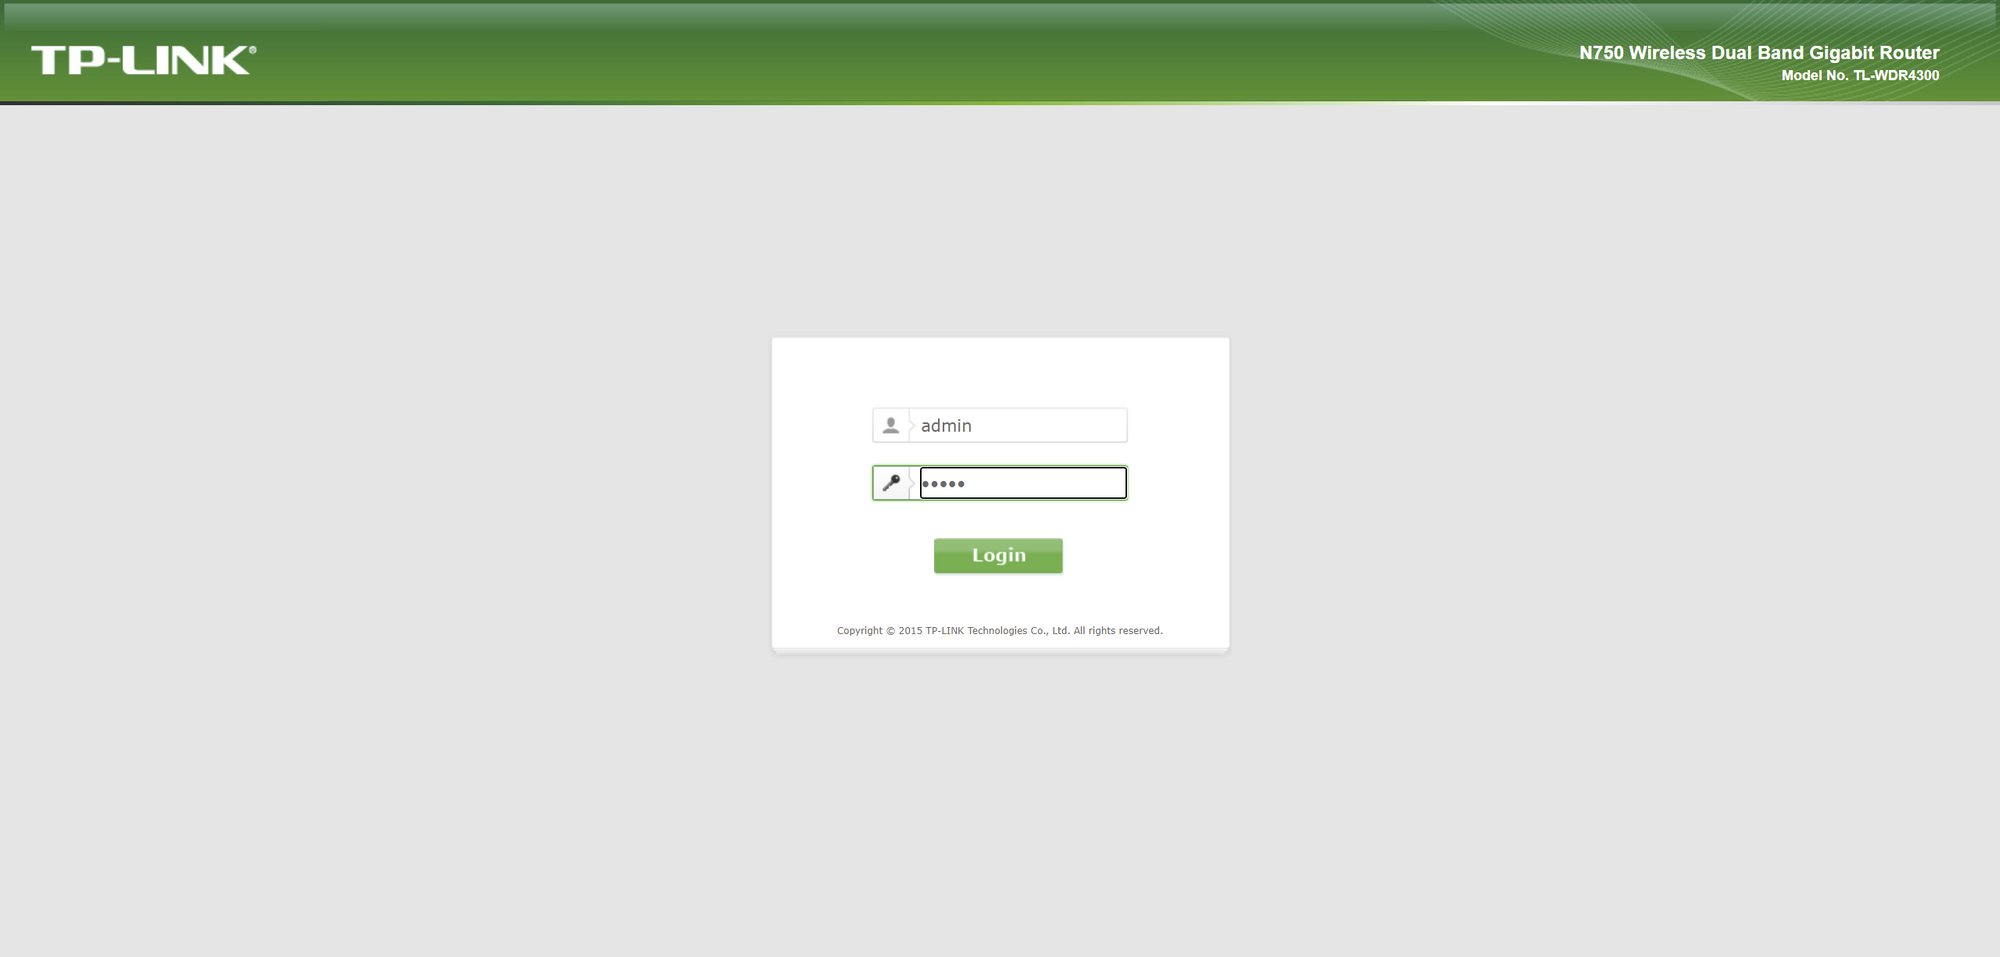
Our computer / laptop should now have automatically received a DHCP lease (IP address that your device receives from the router you are connected to). TP-Link devices normally operate on the 192.168.0.0/24 subnet, so we should be able to reach the device by going to the 192.168.0.1 address in our web browser of your choice. Now we should see the login mask. The default login information is often admin as the username and admin as the password.
After logging in, we should be greeted with the standard dashboard. In my case, it's the setup wizard, but we don't have to play around with it as we are replacing the currently running system. To do this, go to the System Tools section and select "Firmware Update". Now we are on the right page.
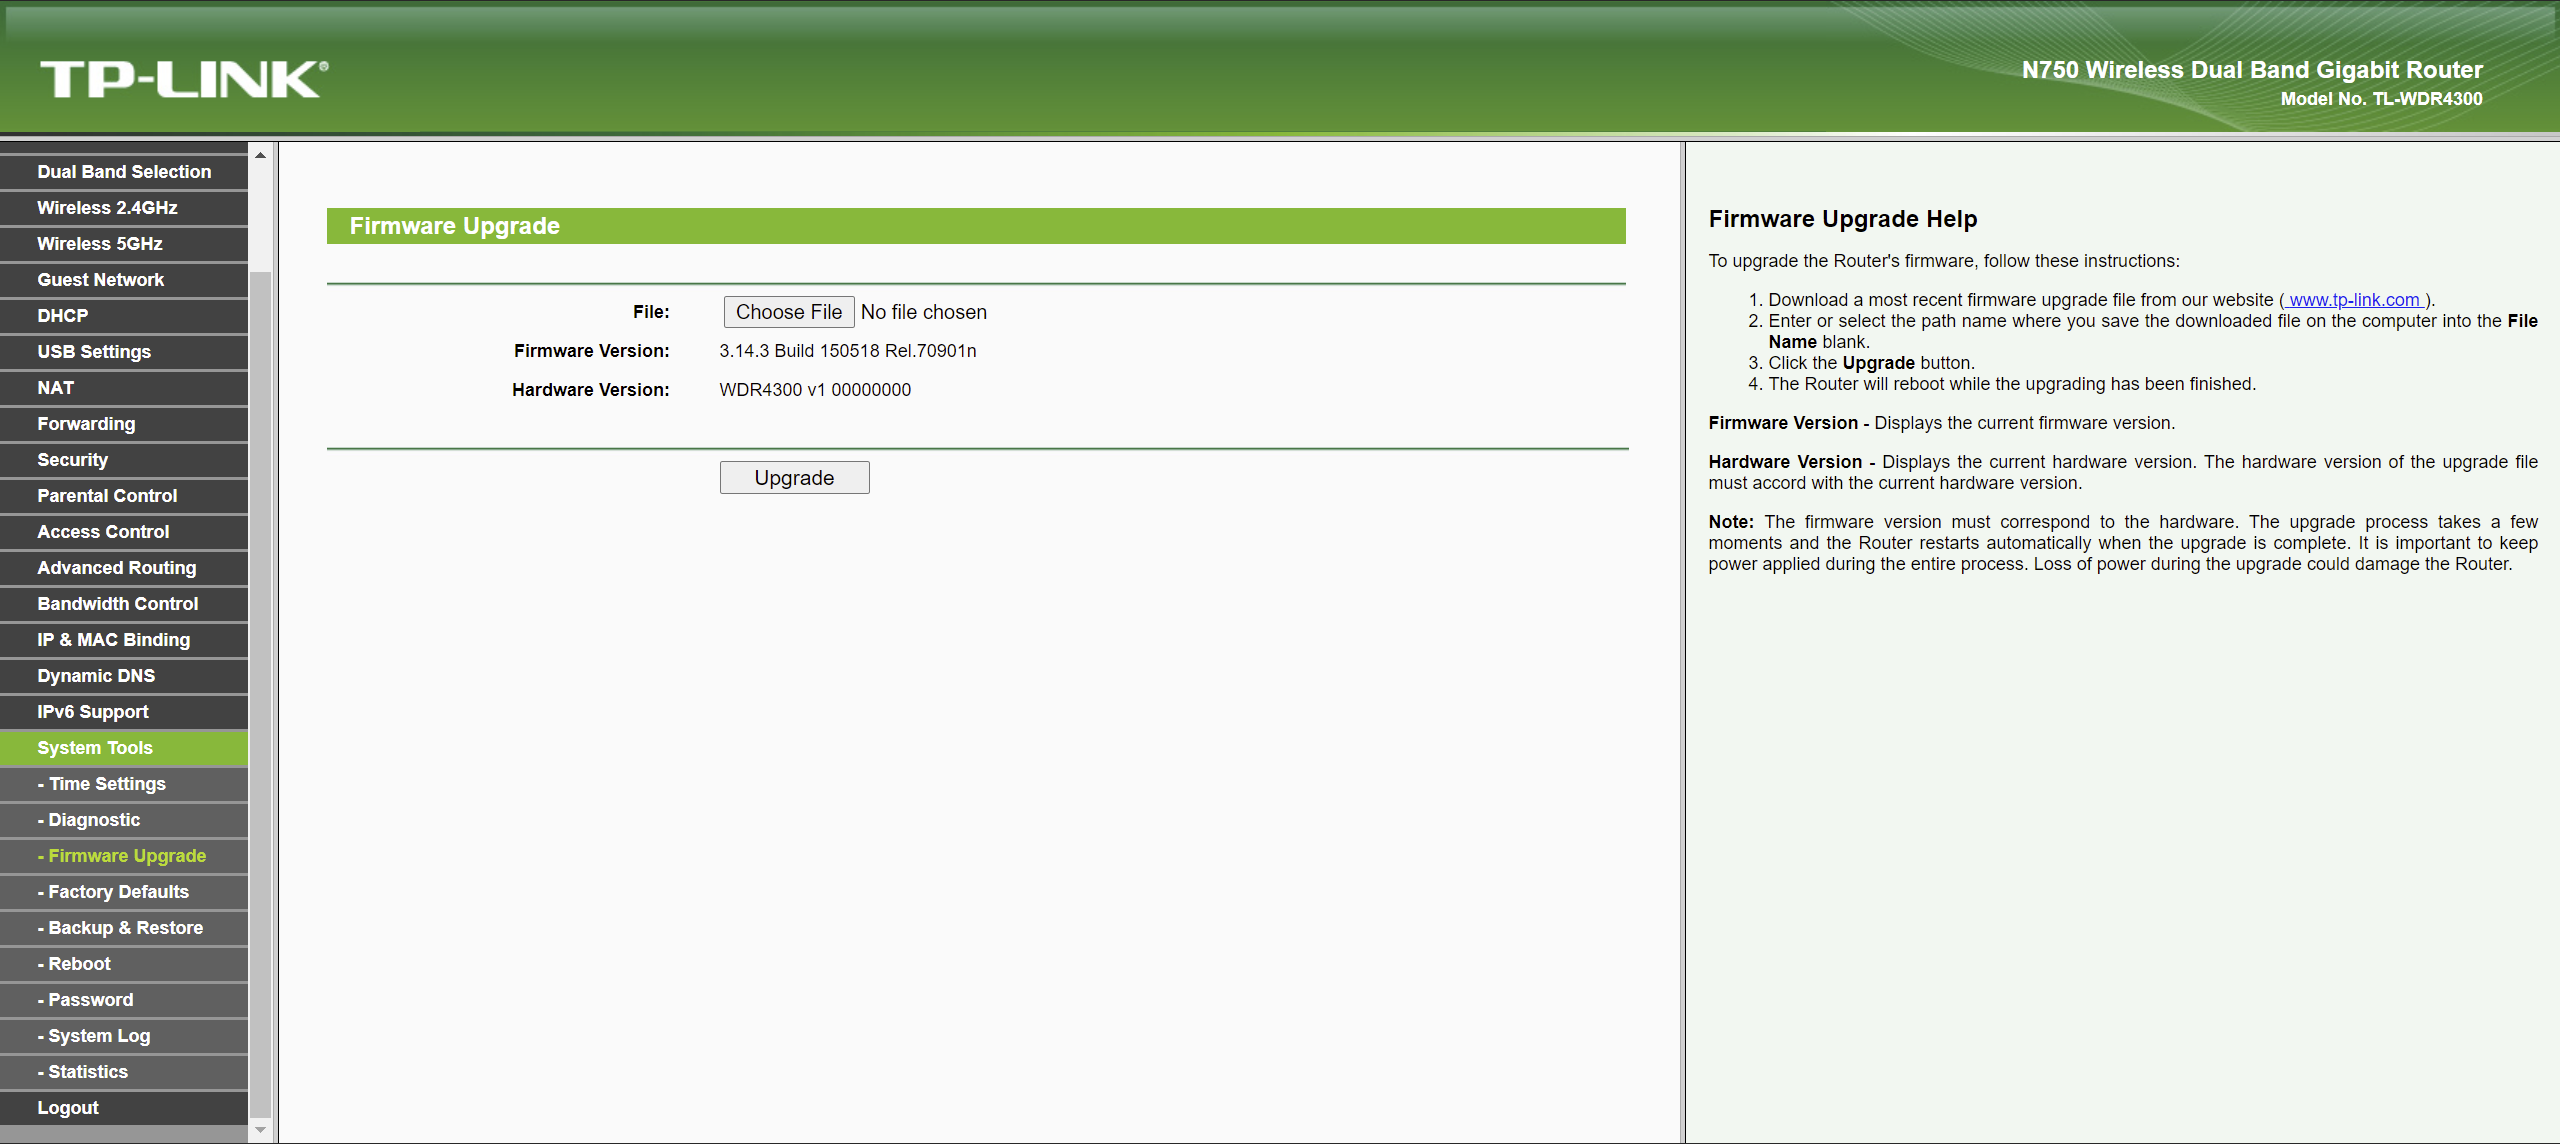
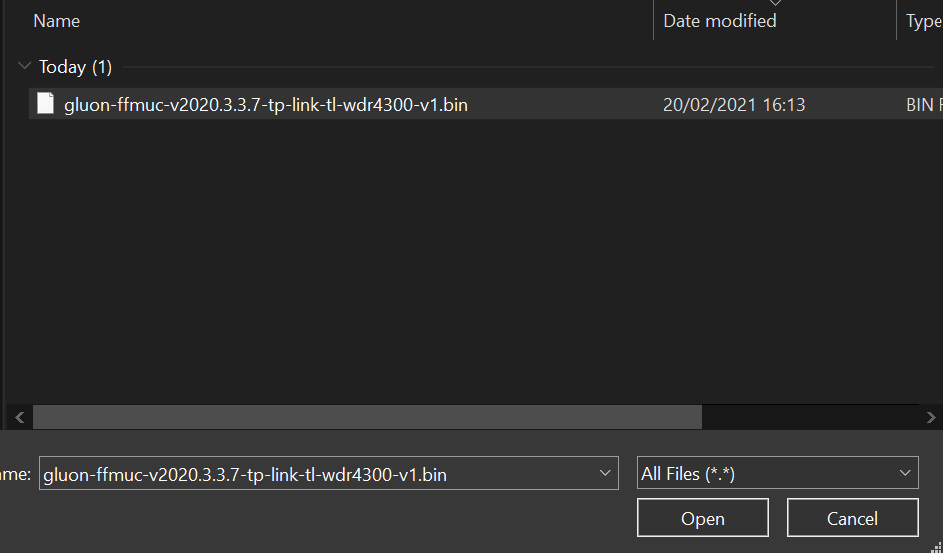
Select the Choose File button and select your downloaded firmware image.
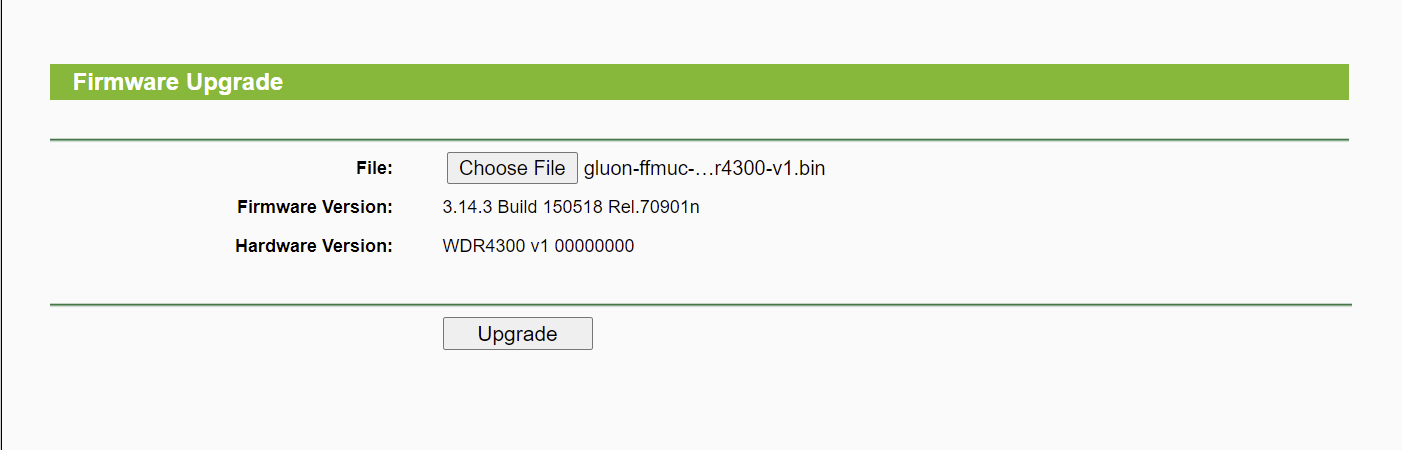
Now all you have to do is click the upgrade button on the old system and confirm the action by clicking the OK button in the message window.
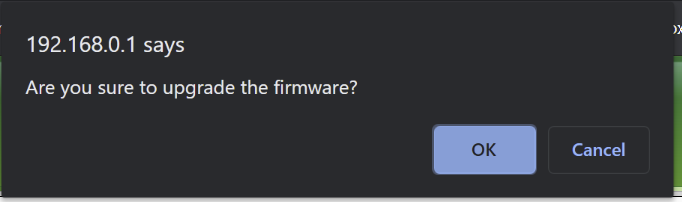
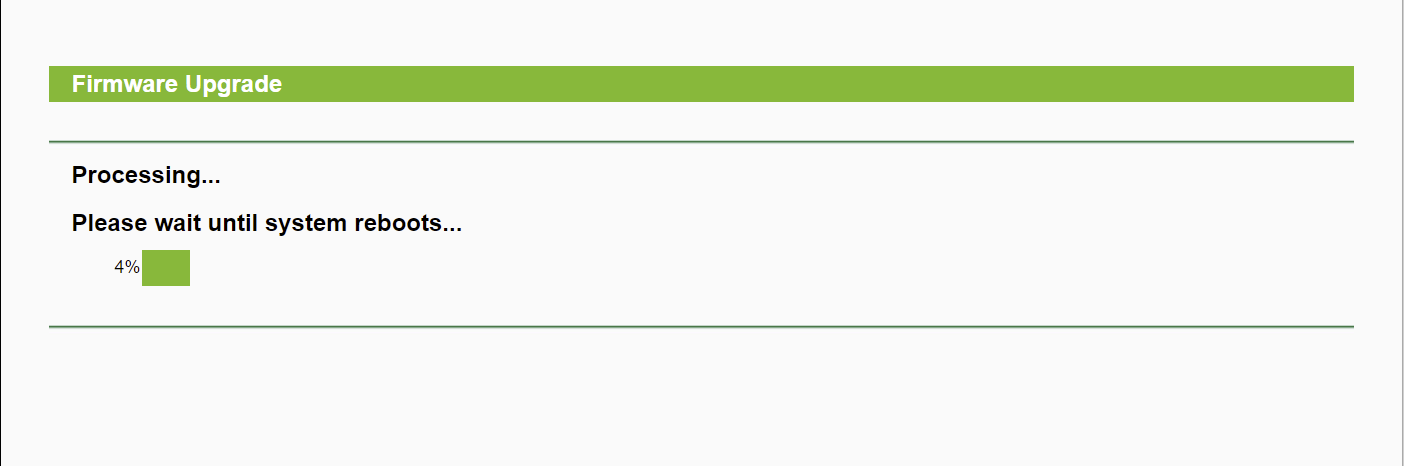
The system will now be updated to the Freifunk image you selected and will be restarted when the process is complete. Please do not pull the plug out of the socket under any circumstances while you are upgrading!
Step 4: Configure the router
We will only set up the access point in a rudimentary way. Further configurations are dealt with in the following blog posts and in the Freifunk (Munich) Wiki itself (although it is mainly written in German).
The Freifunk firmware (as it is based on OpenWrt) uses the subnet 192.168.1.0/24. The router can therefore be reached via the address 192.168.1.1. If you continue, the new shiny setup wizard for Freifunk will appear.
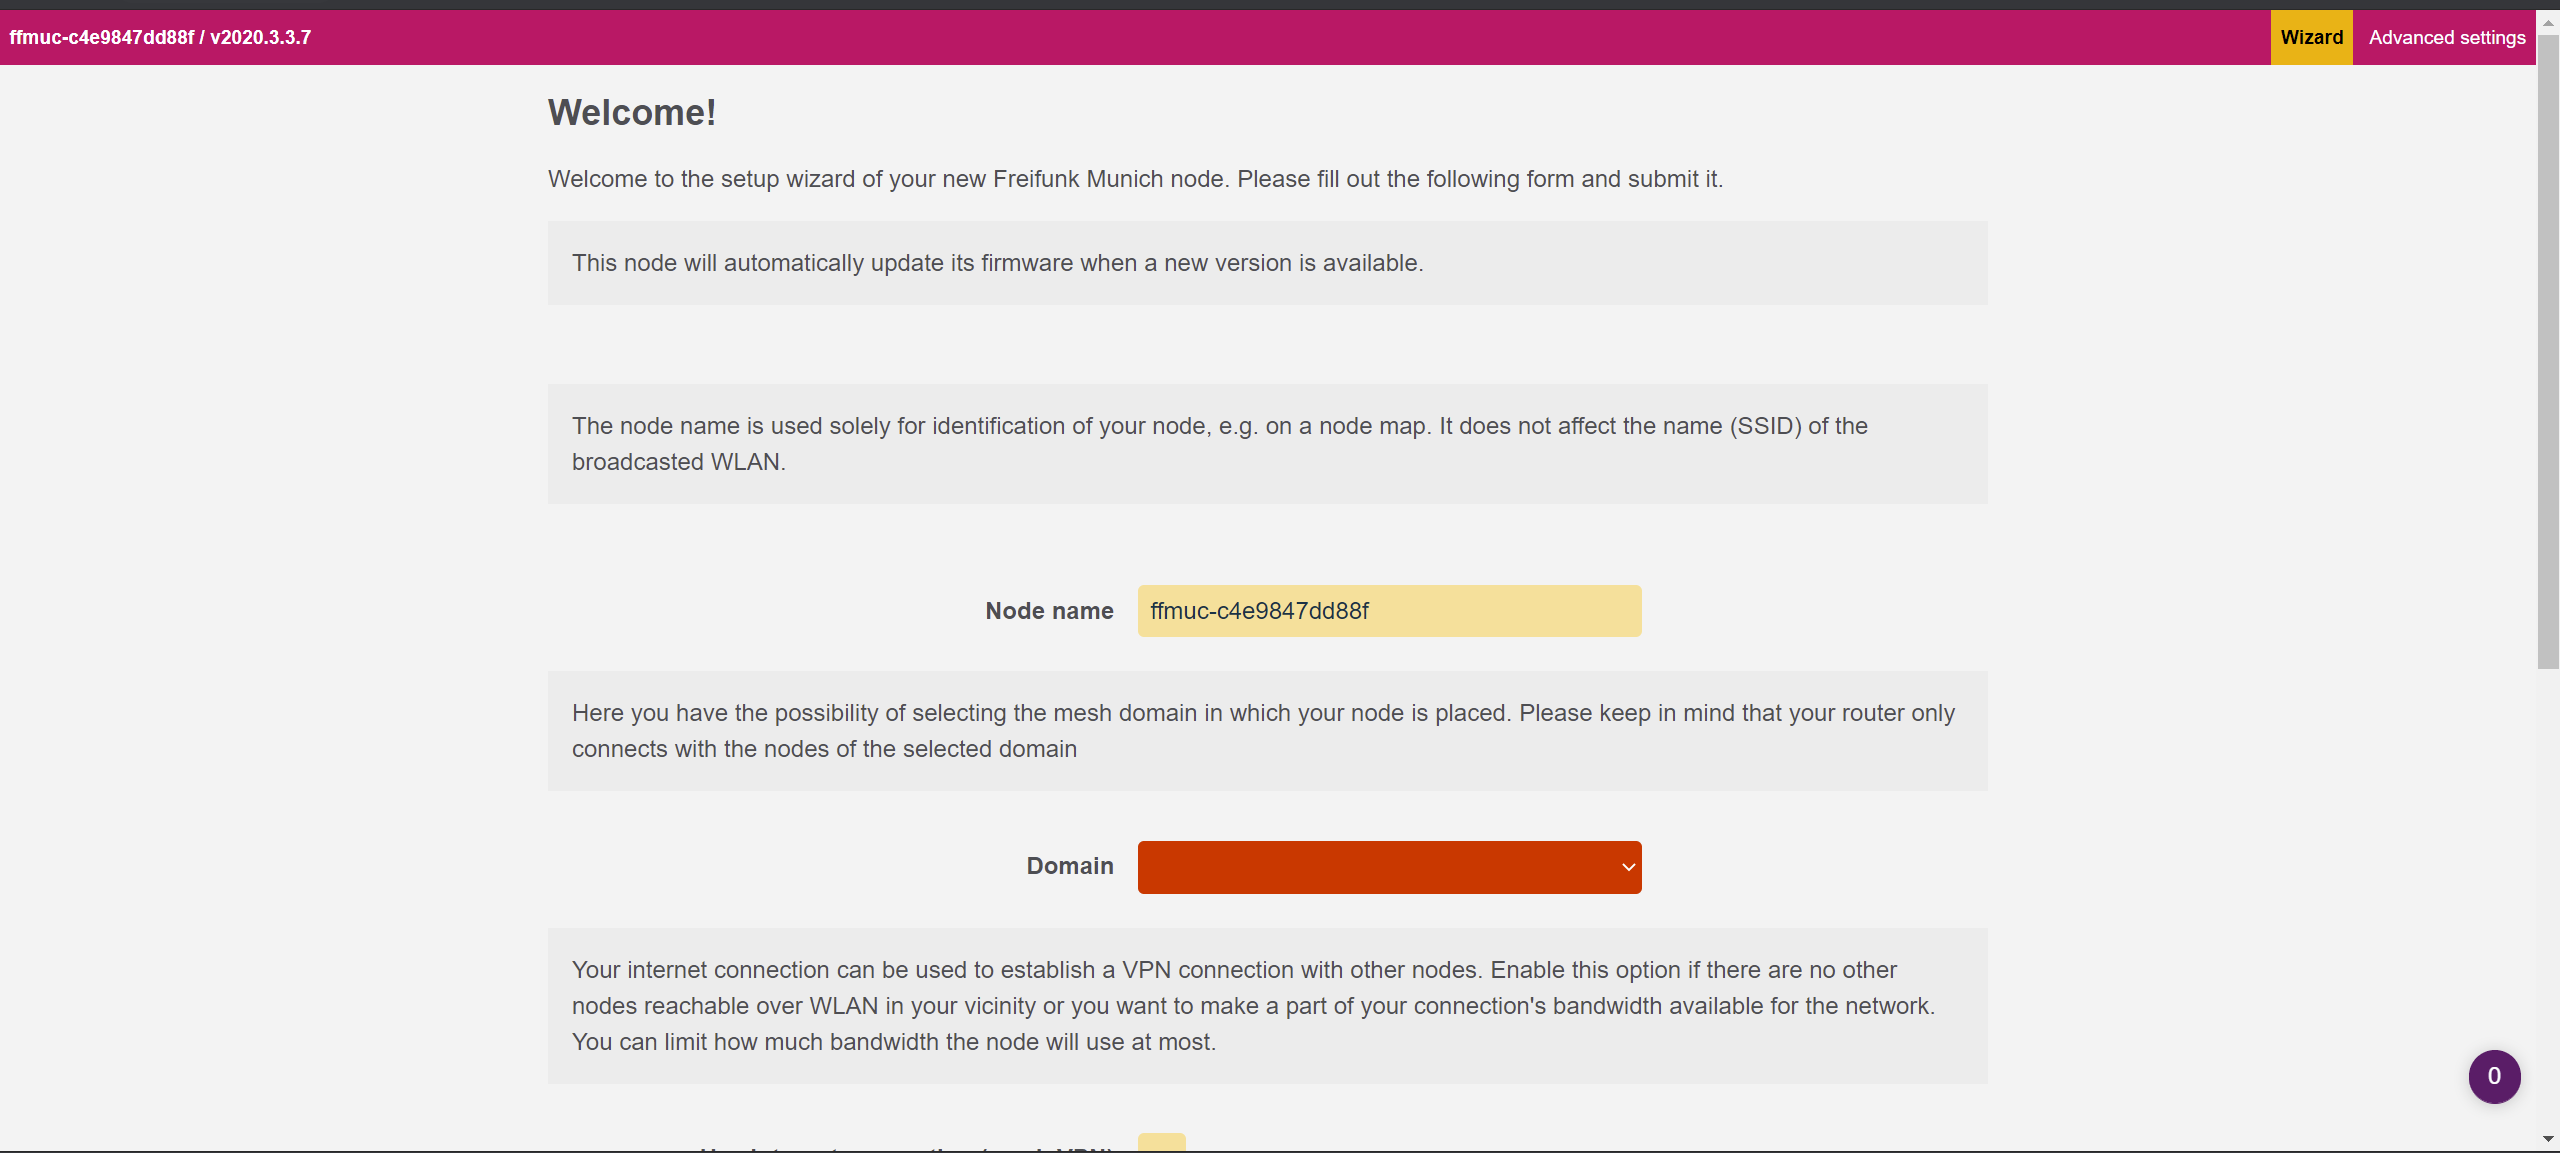
We can now define a name for the access point operated by us. I usually go with "ffmuc-yourstreetname-yourstreetnumber" but you can put anything there that suits your needs as long as it is within community guidelines. In short, use your brain and come up with a good and meaningful node name. Also select the domain you are in. If you are not near Munich, select the domain "Welt". However, the domain director used by Freifunk Munich can change this accordingly so that you are in the correct domain for your location. If you want to add additional access points, you can activate the option Use Internet connection (Mesh VPN) or limit the bandwidth so that you only give the neighborhood the bandwidth you want.
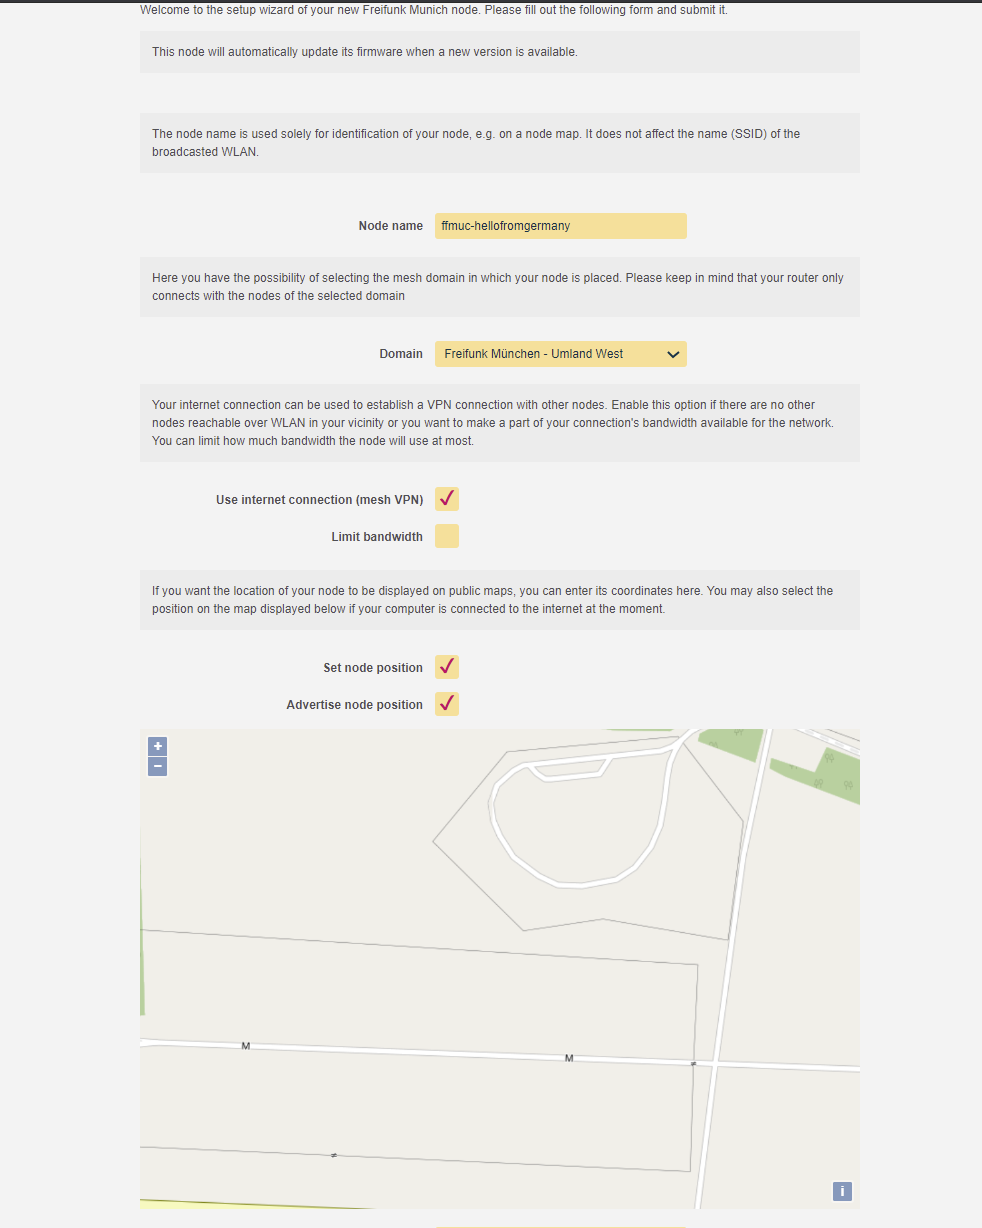
Now we need to set a node location (not mandatory, but almost all people do this so you can see if there is free wifi in the area). You can either enter the coordinates in the fields below the map or click your location on the map to set it accordingly. Finally, set up your contact information so that the project leaders or anyone who wants to contact you about the access point can. This could be your email address or a clue where to find you (IRC, Signal (Messenger), etc.). This is always a good idea as they can contact you if something is wrong with your setup!
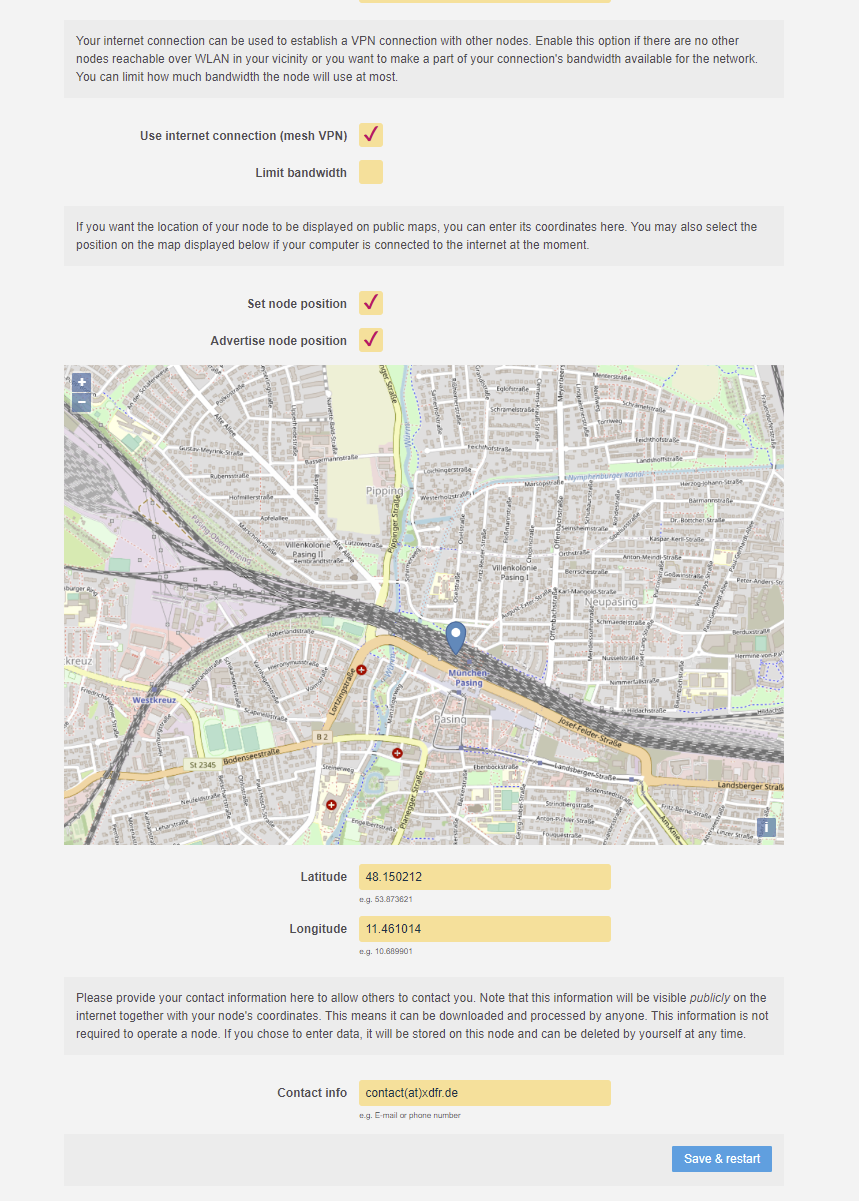
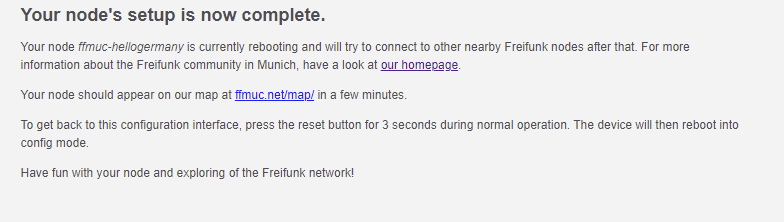
Click Save and Restart. The access point should restart and broadcast an SSID (WiFi signal) with the name of your community, e.g. muenchen.freifunk.net/uml_west. Make sure you connect the router to the internet via the WAN port and place it in a suitable location. I recommend placing it where most of your neighbors and guests can connect to it.
Conclusion
And that's it. A fully working and secure access point for neighbors, guests and family. You can now tell them that your router is operational and that they no longer need to enter a password. If they're also interested, feel free to link them to this blog post or just spread the word Freifunk. I am glad I was able to walk you through this process. If you have any questions, feel free to comment below. Further articles will be published in the near future. Until then, stay safe and healthy.
Cheers,
Felix