How to set up the Traefik v2 Reverse Proxy for Docker on Debian / Ubuntu
For all these problems there is an elegant solution thanks to Traefik. So today I will write about Traefik (version 2): A reverse proxy that takes some of the tedious work off your hands and which can be easily extended with new services!

Introduction
Docker alone makes the life of a system administrator quite easy. You install the docker engine on the system you want to deploy your application to, build your own container with the components you need and then run it in the development environment or deploy the container directly to the production system. What can sometimes be a little bit complicated is that you normally can't run multiple web applications at the same time on port 80 & 443, or that you have to create the Let's Encrypt certificates for each service separately. For all these problems there is an elegant solution thanks to Traefik. So today I will write about Traefik (version 2): A reverse proxy that takes some of the tedious work off your hands and which can be easily extended with new services!
Prerequisites
- A system you have access to, preferably a Linux-based system with a public IP address and a domain pointing to it
- Docker & docker-compose installed on the system (see my post about how to do this here)
- Elevated privileges (via sudo) or access to the root user
- Internet connection
Installation & Configuration
Step 1: Update the Linux system
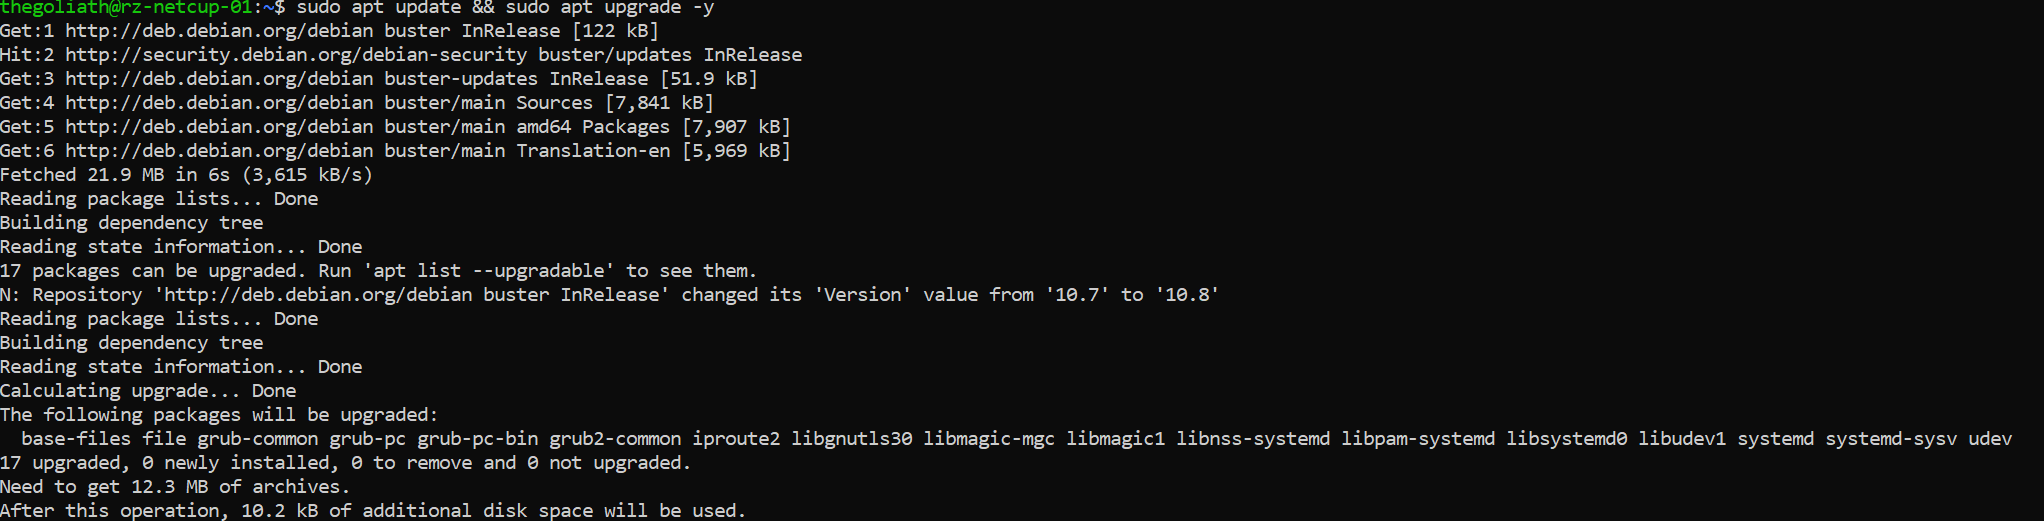
Before setting up an application on your Linux server, it is a good idea to upgrade the system in advance to be up to date. To do this, we call
$ sudo apt update
$ sudo apt upgrade -y
and the upgrade process should start.
It is also worth installing these upgrades automatically and unattended. I've already written a guide on the subject.
After a successful upgrade, it is recommended that you reboot the system to load the new Linux kernel and get the services up and running with the updated binaries.
Step 2: Install apache2-utils
We need to install apache2-utils so we can use htpasswd to generate our password for the Traefik web interface. Note, only the Apache utils are installed and not the Apache2 web server itself!
# If you haven't done so already, update your package lists
$ sudo apt update

# Now install the package
$ sudo apt install apache2-utils
Step 3.1: Create the required files and directories
The data of the Traefik container and its configuration files must be stored somewhere. Therefore we need to create some directories and the initial files for Traefik to work with.
# First we create a directory that contains all subdirectories, data and configuration files.
$ sudo mkdir -p /opt/containers/traefik

# Now we create some files and directories that we will need later on
$ sudo mkdir -p /opt/containers/traefik/data
$ sudo touch /opt/containers/traefik/data/acme.json
$ sudo chmod 600 /opt/containers/traefik/data/acme.json
$ sudo touch /opt/containers/traefik/data/traefik.yml
Step 3.2: Modify the configuration file of Traefik
Now we need to do our initial configuration for Traefik. The provided configuration should work just fine by replacing youremail@example.org with your own email address. This is required for Let's Encrypt to work properly, as you will receive notifications if your certificates are about to expire.
# Open the config file with your favourite editor such as vim, nano or joe
$ sudo vim /opt/containers/traefik/data/traefik.yml
# Now paste the content down below into the file
api:
dashboard: true
entryPoints:
http:
address: ":80"
https:
address: ":443"
providers:
docker:
endpoint: "unix:///var/run/docker.sock"
exposedByDefault: false
file:
filename: "./dynamic_conf.yml"
certificatesResolvers:
http:
acme:
email: youremail@example.org # Change this to your valid email address
storage: acme.json
httpChallenge:
entryPoint: httpStep 3.3: Create the docker-compose.yml file
It's time for us to create a Docker compose file for the Traefik service, where we do some additional configuration and point to the files and directories we just created.
$ sudo vim /opt/containers/traefik/docker-compose.yml# Paste the content down below into the docker-compose.yml file
version: '3.8'
services:
traefik:
image: traefik:latest
container_name: traefik
restart: unless-stopped
security_opt:
- no-new-privileges:true
networks:
- proxy
ports:
- 80:80
- 443:443
volumes:
- /etc/localtime:/etc/localtime:ro
- /var/run/docker.sock:/var/run/docker.sock:ro
- ./data/traefik.yml:/traefik.yml:ro
- ./data/acme.json:/acme.json
- ./data/dynamic_conf.yml:/dynamic_conf.yml
labels:
- "traefik.enable=true"
- "traefik.http.routers.traefik.entrypoints=http"
- "traefik.http.routers.traefik.rule=Host(`traefik.example.org`)"
- "traefik.http.middlewares.traefik-auth.basicauth.users=USER:PASSWORD"
- "traefik.http.middlewares.traefik-https-redirect.redirectscheme.scheme=https"
- "traefik.http.routers.traefik.middlewares=traefik-https-redirect"
- "traefik.http.routers.traefik-secure.entrypoints=https"
- "traefik.http.routers.traefik-secure.rule=Host(`traefik.example.com`)"
- "traefik.http.routers.traefik-secure.tls=true"
- "traefik.http.routers.traefik-secure.tls.certresolver=http"
- "traefik.http.routers.traefik-secure.service=api@internal"
- "providers.file.filename=/dynamic_conf.yml"
- "traefik.http.routers.traefik-secure.middlewares=secHeaders@file,traefik-auth"
networks:
proxy:
external: trueWe still need to change some things
- Change the hostname from
traefik.example.orgto your own valid (sub-)domain - Set your own username and password for the traefik web interface
Changing the username and password
For this purpose, we installed apache2-utils earlier. Now it's htpasswd's time to shine.
# You have to replace "user" and "password" with the values you want to use later to authenticate against traefik
$ echo $(htpasswd -nb user password) | sed -e s/\\$/\\$\\$/g

Output should be something like this:
user:$$apr1$$7ciH.Uzt$$DUqDgmpLmFE2Fm7Z7VaMe/
Now we need to replace the placeholder values with the output we've just got.
Change "traefik.http.middlewares.traefik-auth.basicauth.users=USER:PASSWORD"
where USER:PASSWORD is the output you just received.
Step 3.4: Create the dynamic_conf.yml file
This file defines which ciphers we want to use and adds some optional security headers (in the form of a traefik middleware)
$ sudo vim /opt/containers/traefik/data/dynamic_conf.yml# Paste the content down below into the dynamic_conf.yml file
tls:
options:
default:
minVersion: VersionTLS12
cipherSuites:
- TLS_ECDHE_RSA_WITH_AES_128_GCM_SHA256
- TLS_ECDHE_RSA_WITH_AES_256_GCM_SHA384
- TLS_ECDHE_RSA_WITH_CHACHA20_POLY1305
- TLS_AES_128_GCM_SHA256
- TLS_AES_256_GCM_SHA384
- TLS_CHACHA20_POLY1305_SHA256
curvePreferences:
- CurveP521
- CurveP384
sniStrict: true
http:
middlewares:
secHeaders:
headers:
browserXssFilter: true
contentTypeNosniff: true
frameDeny: true
sslRedirect: true
# HSTS Configuration
stsIncludeSubdomains: true
stsPreload: true
stsSeconds: 31536000
customFrameOptionsValue: "SAMEORIGIN"Step 3.5: Create a docker network
We now need to create an internal network through which our containers will communicate with Traefik. In our case we will call it a proxy.
$ sudo docker network create proxyStep 4: Starting Traefik
We're now able to start Traefik.
sudo docker-compose -f /opt/containers/traefik/docker-compose.yml up -dYou should now be able to log in to your Traefik domain (here: https://traefik.example.org) with your previously configured credentials. After successful authentication, you will be welcomed by the Traefik dashboard.