How to set up Docker Engine on Debian / Ubuntu
Containerization is an essential part of modern infrastructure. Containers are used everywhere from Netflix over Google to Slack and many more. Why don't we try them out for ourselves? You can get a service up and running in a matter of minutes to a few seconds.

Introduction
Containerization is an essential part of modern infrastructure. Containers are used everywhere from Netflix over Google to Slack and many more. Why don't we try them out for ourselves? You can get a service up and running in a matter of minutes to a few seconds. This blog also runs in one of my many docker containers. However, it can be scary to move away from traditional on-premise hosting as you have to migrate everything into containers. Nevertheless, I'll help you get started and prepare for the world of containerization by showing how easy it is to install the docker engine and docker-compose on a Debian-based system. Let us begin!
Prerequisites
- A Debian or Ubuntu based machine that can be accessed by you
- Internet connection
- Root access or elevated privileges (via sudo)
Installation & Configuration
Step 1: Update the Linux system
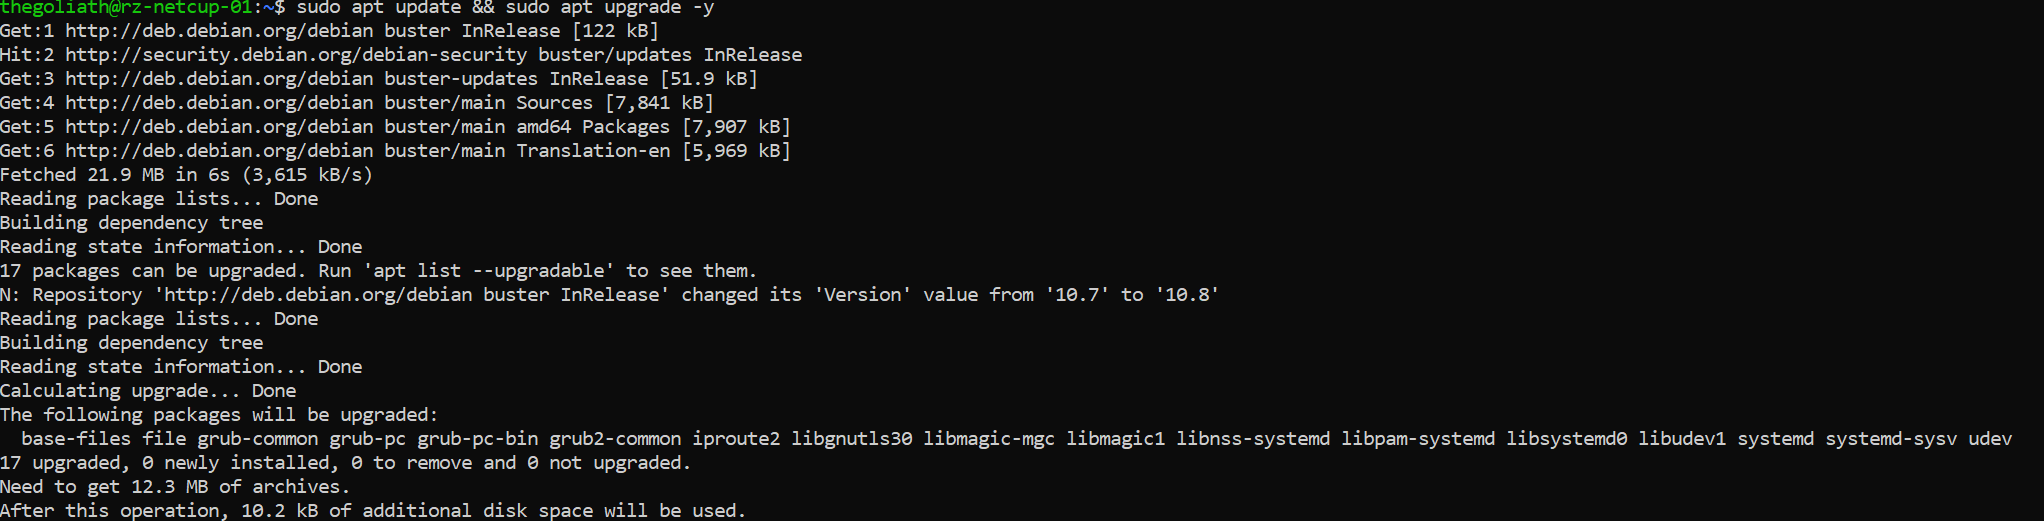
Before setting up an application on your Linux server, it is a good idea to upgrade the system in advance to be up to date and not to break anything after upgrading the server after setting up Docker. To make sure we are up to date, we call
$ sudo apt update && sudo apt upgrade -yand the upgrade process should start.
It is also worth installing these upgrades automatically and unattended. I've already written a guide on the subject.
After a successful upgrade, it is recommended that you reboot the system to load the new Linux kernel and get the services up and running with the updated binaries.
Step 2: Uninstall old versions of Docker-related packages
Docker-related packages may already be installed on your system. Since we are installing a completely new version directly from the Docker maintainer ourselves, we have to uninstall the components that have already been installed. We need to do this because we don't want any file conflicts or unwanted behavior from the Docker daemon. It is also good practice to start over on a new setup.
Don't worry, all images, containers, volumes and networks in /var/lib/docker/ container will be preserved.
All right, let's remove the older versions of docker and it's components.
$ sudo apt remove docker docker-engine docker.io containerd runcIt's okay if you get a message saying that none of these packages are installed.
Step 3: Set up the official Docker repository
Next we need to install the packages so that the apt package manager can use a repository over HTTPS.
$ sudo apt-get install \
    apt-transport-https \
    ca-certificates \
    curl \
    gnupg-agent \
    software-properties-common
In order for apt to be able to verify the signatures of the downloaded packages, we need to add Docker's official signature key.
On Debian:
$ curl -fsSL https://download.docker.com/linux/debian/gpg | sudo apt-key add -
On Ubuntu:
$ curl -fsSL https://download.docker.com/linux/ubuntu/gpg | sudo apt-key add -
Let's check that we have the correct key by looking for it on our system. This can be achieved by looking for the last eight characters of the fingerprint.
$ sudo apt-key fingerprint 0EBFCD88

pub   4096R/0EBFCD88 2017-02-22
      Key fingerprint = 9DC8 5822 9FC7 DD38 854A  E2D8 8D81 803C 0EBF CD88
uid                  Docker Release (CE deb) <docker@docker.com>
sub   4096R/F273FCD8 2017-02-22
Now let's add the repository for our respective system and architecture.
Debian (amd64):
$ sudo add-apt-repository \
   "deb [arch=amd64] https://download.docker.com/linux/debian \
   $(lsb_release -cs) \
   stable"
Ubuntu (amd64):
$ sudo add-apt-repository \
   "deb [arch=amd64] https://download.docker.com/linux/ubuntu \
   $(lsb_release -cs) \
   stable"
Last but not least, apt's package index needs to be updated in order to download and install the latest Docker packages. Again, we have to update our package lists in order to install the packages from the docker repository.
$ sudo apt updateStep 4: Install the Docker Engine and docker-compose
We are now ready to install the latest available Docker Engine on our system.
$ sudo apt install docker-ce docker-ce-cli containerd.ioCheck out the release page and make sure you're using the latest version in the script below.
And now we need to install the last bit, docker-compose and add the needed permissions to the binary.
$ sudo wget https://github.com/docker/compose/releases/download/v2.3.3/docker-compose-linux-x86_64 -O /usr/local/bin/docker-compose
$ sudo chmod +x /usr/local/bin/docker-compose
$ sudo ln -sf /usr/local/bin/docker-compose /usr/bin/docker-compose
If docker-compose --version throws an error message, you may need to create something called a symbolic link.
$ sudo ln -s /usr/local/bin/docker-compose /usr/bin/docker-composeA final call of docker-compose --version should return the docker-compose build version.
$ docker-compose --version
Docker Compose version v2.3.3
And we're done!
Conclusion
That's it, a fully functional and up-to-date Docker setup. You can now deploy containers with the Docker Compose tool and take advantage of the latest features of the Docker engine. You can be proud of yourself, so try some simple containers like Apache2 or Nginx as a web server. There's also a guide on how to setup Traefik with Docker as a reverse proxy which makes life way easier.
Stay safe and have a nice day!