How to set up a music bot for a TeamSpeak 3 server on Debian / Ubuntu
Since we have already installed and configured our own TeamSpeak 3 server, it is time to bring quality music to these channels. So let's use the server we have already configured for TeamSpeak.

Introduction
Since we have already installed and configured our own TeamSpeak 3 server, it is time to bring quality music to these channels. So let's use the server we have already configured for TeamSpeak. I will walk you through installing and setting up a music bot called SinusBot, which integrates perfectly with the latest TeamSpeak 3 server. Without further ado, let's get started.
Prerequisites
- A Debian or Ubuntu based machine that can be accessed by the people you want to interact with
- Internet connection
- Root access or elevated privileges (via sudo)
- TeamSpeak 3 server
Installation & Configuration
Step 1: Update the Linux system
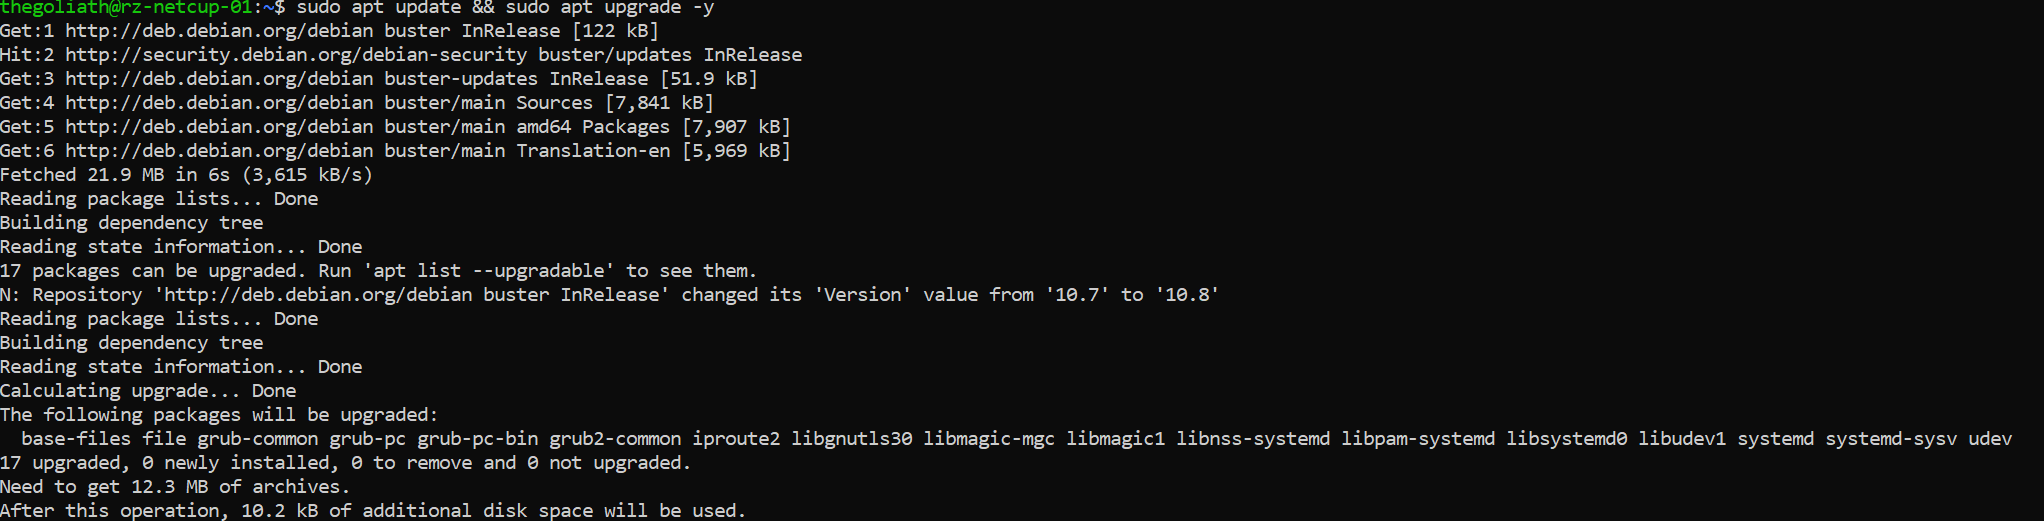
Before setting up an application on your Linux server, it is a good idea to upgrade the system in advance to be up to date and not to break anything after upgrading the server after setting up SinusBot. To make sure we are up to date, we call
$ sudo apt update && sudo apt upgrade -yand the upgrade process should start.
It is also worth installing these upgrades automatically and unattended. I've already written a guide on the subject.
After a successful upgrade, it is recommended that you reboot the system to load the new Linux kernel and get the services up and running with the updated binaries.
Step 2: Create a user for the SinusBot daemon
We need to create a separate, non-privileged user for our SinusBot so that no one can wreak havoc in the event that the SinusBot binary has a unknown vulnerability.
For this purpose we will create a new user named sinusbot with the directory /opt/sinusbot as the home directory, without the option to log in (for more security) and the display name "SinusBot". Simply call the command
$ sudo useradd -m -d /opt/sinusbot -s /usr/sbin/nologin -c "SinusBot" sinusbotand the new user will be created.

Step 3: Install dependencies and repositories
First of let's install the required dependencies and update the ca certificates on the system by calling:
$ sudo apt install -y x11vnc xvfb libxcursor1 ca-certificates curl bzip2 libnss3 libegl1-mesa x11-xkb-utils libasound2 libpci3 libxslt1.1 libxkbcommon0 libxss1 libxcomposite1 libglib2.0-0
$ sudo update-ca-certificates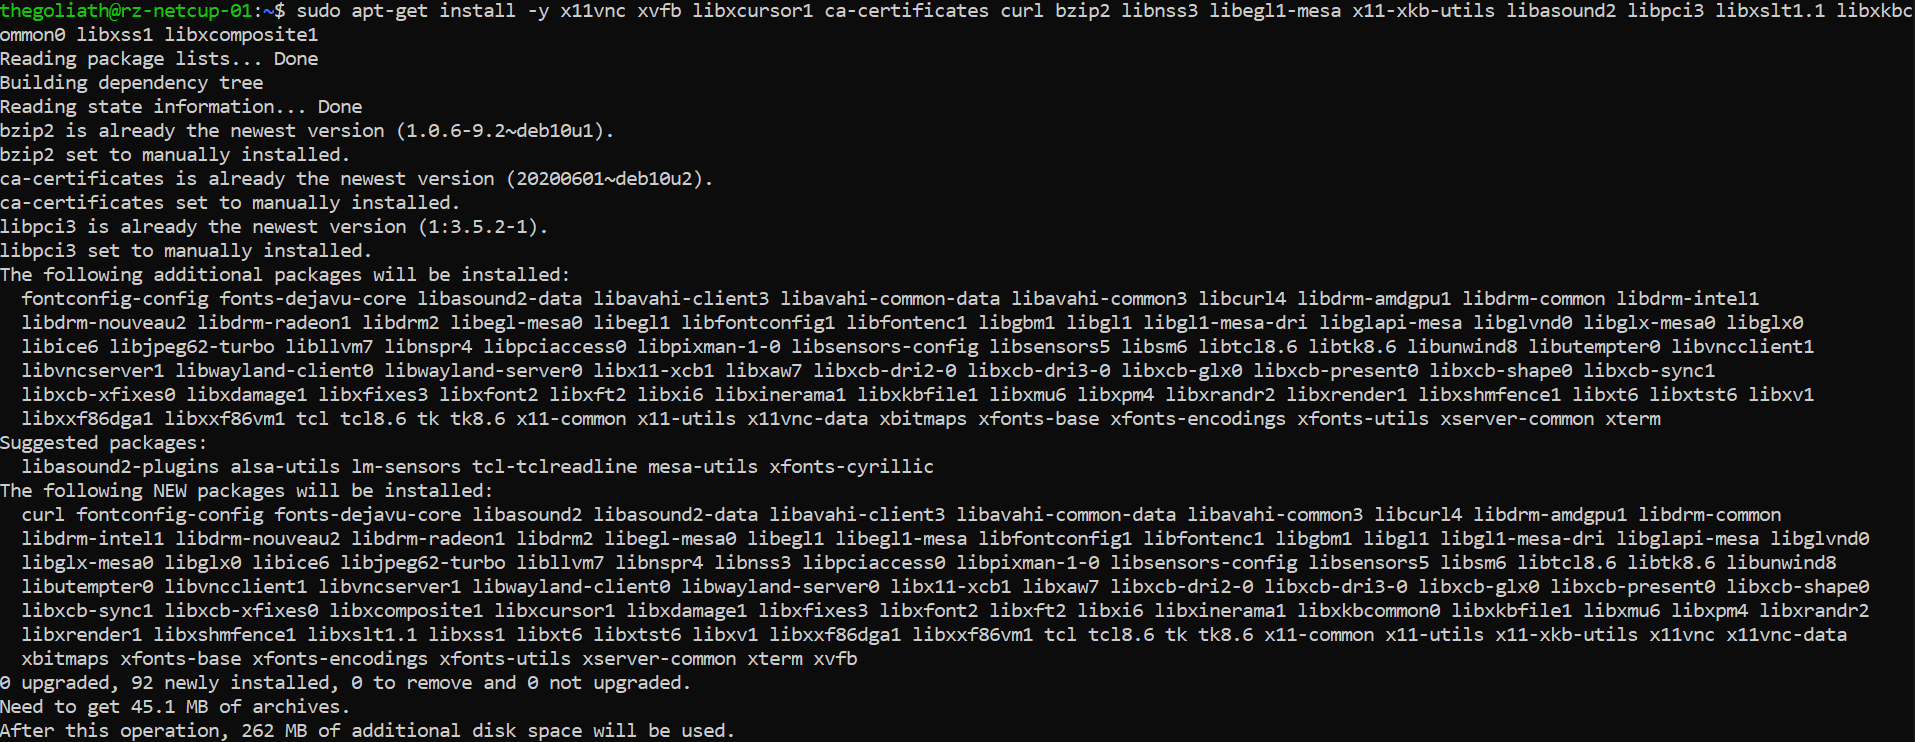
Now we need to work with the newly created sinusbot user. To use it we have to run
$ sudo -u sinusbot /usr/bin/bash
$ cd ~

# Check your current location in the filesystem
$ pwd
We now should be in our designated home directory for the bot user (Use pwd to check that we are in the /opt/sinusbot directory).
I always recommend using the latest version available as the latest features and security patches will only be available in the newer versions.
Since the download link always refers to the latest version, it does not have to be changed. Now we will download SinusBot and extract it to the /opt/sinusbot directory.
$ wget https://www.sinusbot.com/dl/sinusbot.current.tar.bz2
$ tar xfj sinusbot.current.tar.bz2 -C /opt/sinusbot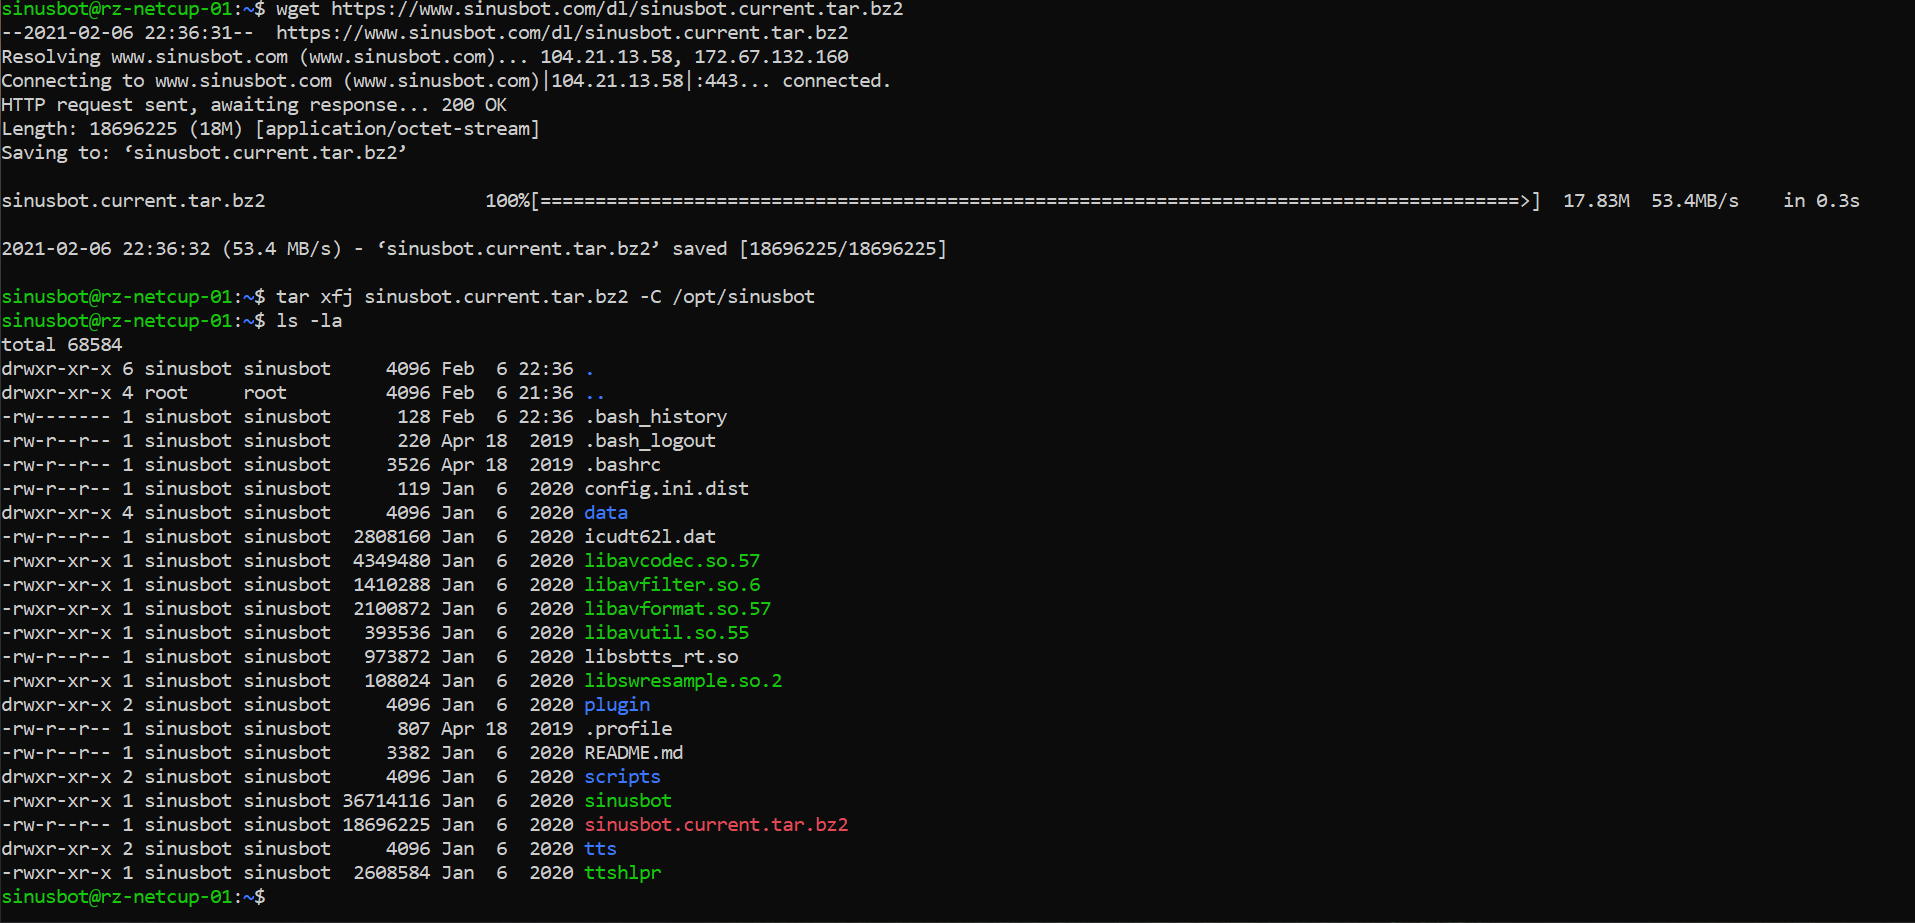
Now we can delete the previously downloaded SinusBot archive.
rm -rf /opt/sinusbot/sinusbot.current.tar.bz2A current TeamSpeak client is required for the bot to work. So we have to download it from the official download page. Check for yourself whether a new version is available and edit the following lines according to the version change.
# Edit the current/supported TeamSpeak version down below
$ VERSION="3.5.6"
$ wget https://files.teamspeak-services.com/releases/client/$VERSION/TeamSpeak3-Client-linux_amd64-$VERSION.run
$ chmod 0755 TeamSpeak3-Client-linux_amd64-$VERSION.run
$ ./TeamSpeak3-Client-linux_amd64-$VERSION.run
You need to accept the terms of use by pressing Enter, then Q, then Y, and finally Enter. The execution file of the TeamSpeak client can then be safely deleted
$ rm TeamSpeak3-Client-linux_amd64-$VERSION.runStep 3: Configure the Bot
First we need to copy the original configuration file so that we don't overwrite it after an update. This can be achieved by calling cp config.ini.dist config.ini.
Now we have a configuration file that we can freely edit.
Verify that the path for the TeamSpeak 3 client is correct by typing
$ ls /opt/sinusbot/TeamSpeak3-Client-linux_amd64/ts3client_linux_amd64If files are displayed, the path is correct. Otherwise, take a look at your file/directory structure and change the path accordingly by editing the configuration file.
$ nano config.ini
In order for the bot to work properly, we need to remove a file by from the xcbglintegrations directory of the client by calling
$ rm TeamSpeak3-Client-linux_amd64/xcbglintegrations/libqxcb-glx-integration.so
Now we create a plugin directory and copy the plugin file so that the bot can be integrated into the TeamSpeak client. After that we have to mark the binary as executable so we can start the bot with ease.
$ mkdir TeamSpeak3-Client-linux_amd64/plugins
$ cp plugin/libsoundbot_plugin.so TeamSpeak3-Client-linux_amd64/plugins/

# Make the bot executable
$ chmod 755 sinusbot
Step 4: Add YouTube playback support
Since we don't want to add music the old-fashioned way, we should be able to play modern, non-copyrighted music with our friends. For this to work we need to download an additional binary called youtube-dl that will download YouTube videos and convert them to an audio-only format that you can listen to on your channels.
In order for it to work, we have to install Python, download the binary file ourselves and make it executable and accessible for the SinusBot.
$ sudo apt install python -y
$ cd /opt/sinusbot/
$ sudo curl -L -O https://yt-dl.org/downloads/latest/youtube-dl
$ sudo chmod a+rx youtube-dl
$ sudo chown sinusbot:sinusbot youtube-dl
Now we have to set YoutubeDLPath = "/opt/sinusbot/youtube-dl" in our config.ini file.

Step 4.1: Enable regular updates for youtube-dl
Since regular updates are good for converters like youtube-dl, these can even be installed fully automatically during operation. To do this, we need to add what is known as a cronjob (which runs a job over and over again at a given time).
To do this, simply call the following command as your regular user with elevated privileges:
$ sudo tee -a /etc/cron.d/ytdl > /dev/null << EOF
0 0 * * * sinusbot /opt/sinusbot/youtube-dl -U --restrict-filenames >/dev/null
EOF
Step 5: Create the systemd-unit file
Now we are going to install a systemd-unit file to start the SinusBot daemon on startup instead of playing around with the binary after every restart. Invoke
$ sudo nano /lib/systemd/system/sinusbot.service as your regular user and then paste the following into the empty file:
[Unit]
Description=Sinusbot, the TeamSpeak 3 and Discord music bot.
Wants=network-online.target
After=syslog.target network.target network-online.target

[Service]
User=sinusbot
ExecStartPre=/bin/rm -f /tmp/.sinusbot.lock
ExecStopPost=/bin/rm -f /tmp/.sinusbot.lock
ExecStart=/opt/sinusbot/sinusbot
WorkingDirectory=/opt/sinusbot
Type=simple
KillSignal=2
SendSIGKILL=yes
Environment=QT_XCB_GL_INTEGRATION=none
LimitNOFILE=512000
LimitNPROC=512000

[Install]
WantedBy=multi-user.targetNow let the systemd daemon recognize the newly created device file so we can finally start the server. Afterwards we should check whether the server is up and running (If you are in the expanded service status view, press q).
$ sudo systemctl daemon-reload
$ sudo systemctl start sinusbot.service
$ sudo systemctl status sinusbot.service
You can also enable the SinusBot service so it get's started automatically on the system's boot.
$ sudo systemctl enable sinusbot.service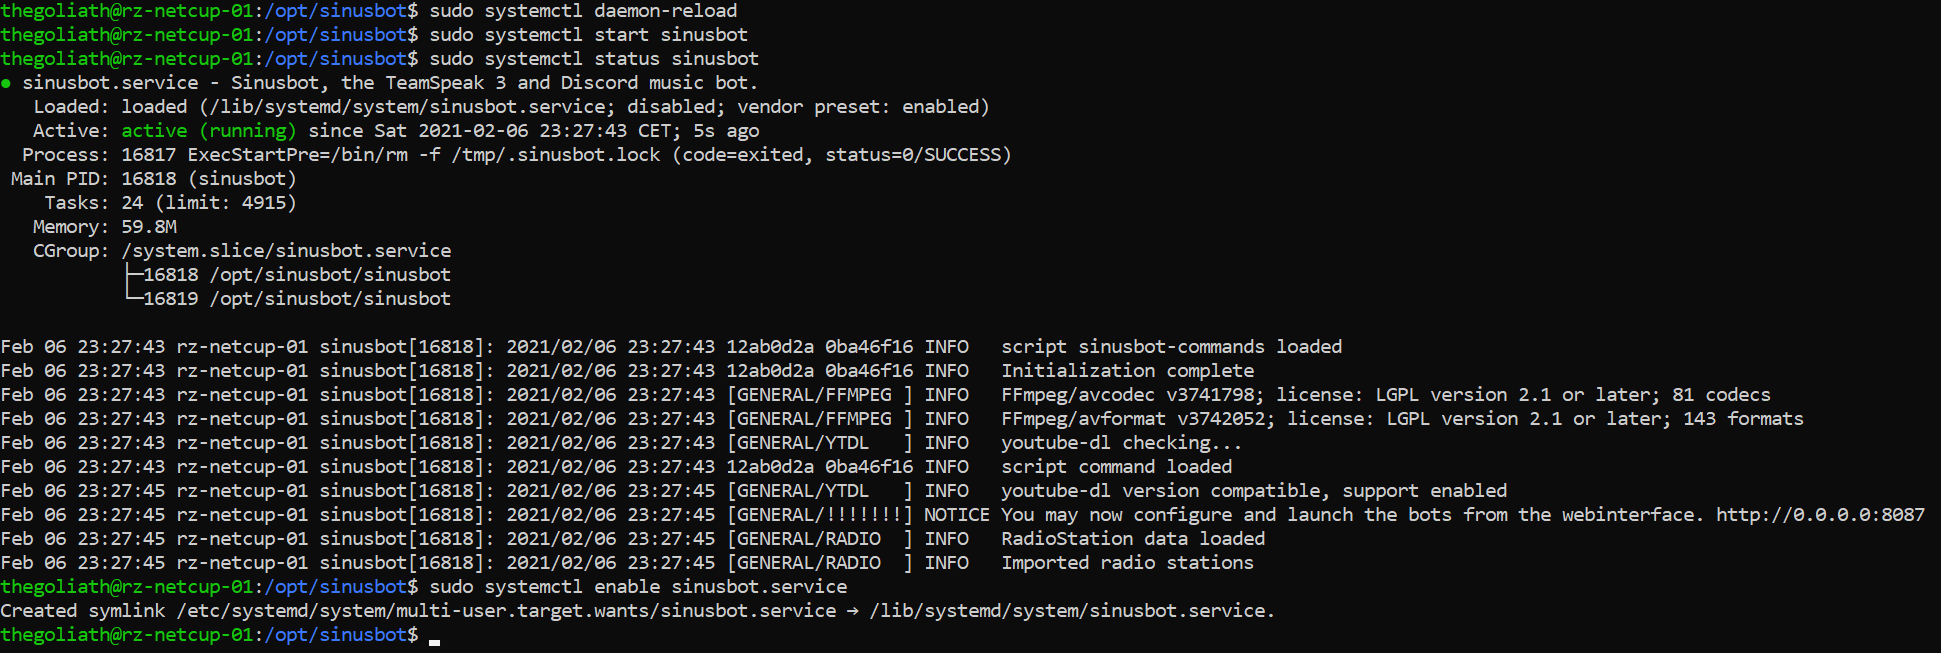
We now have to temporarily set a password and start the server manually as the sinusbot user by using
$ ./sinusbot --override-password=mysecurepassword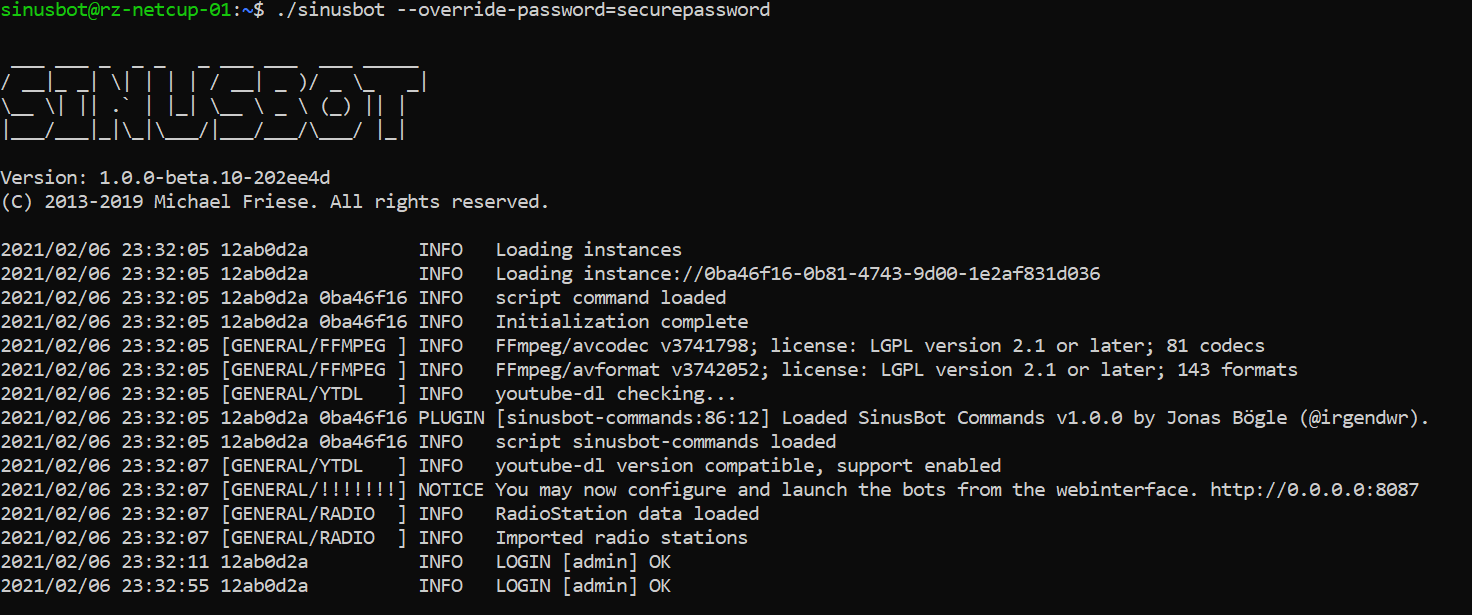
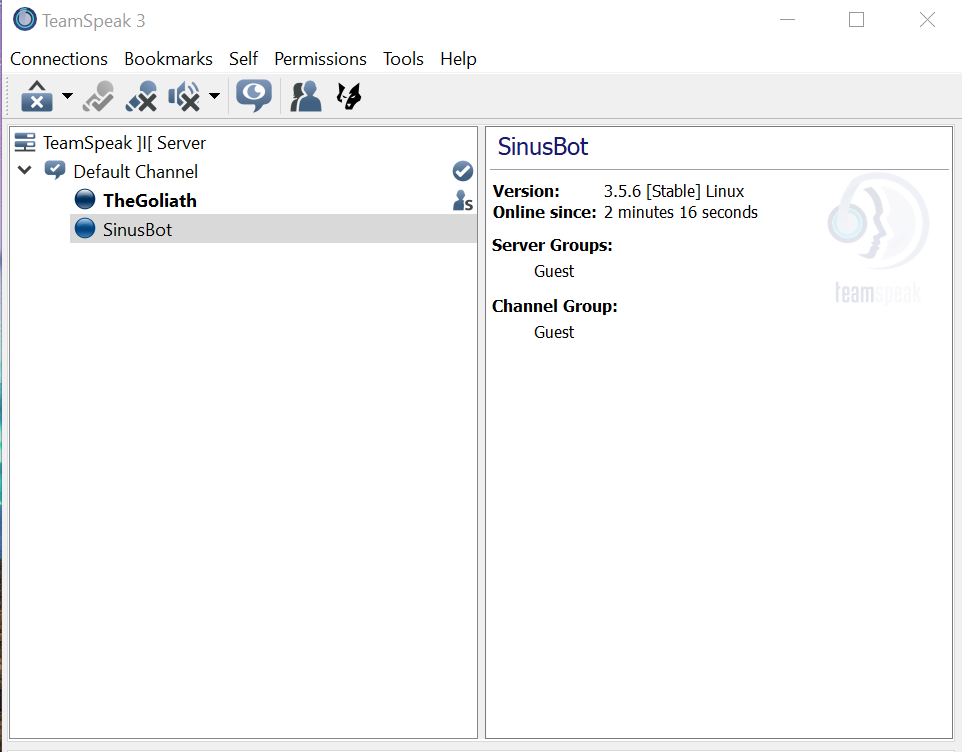
Now use your web browser to navigate to the bot's web interface using the following example: http://example.com:8087. You should now be greeted with the shiny web interface and login screen. Enter admin as the username and the passwords you've just set. You can always change the admin's password by doing the step above again.

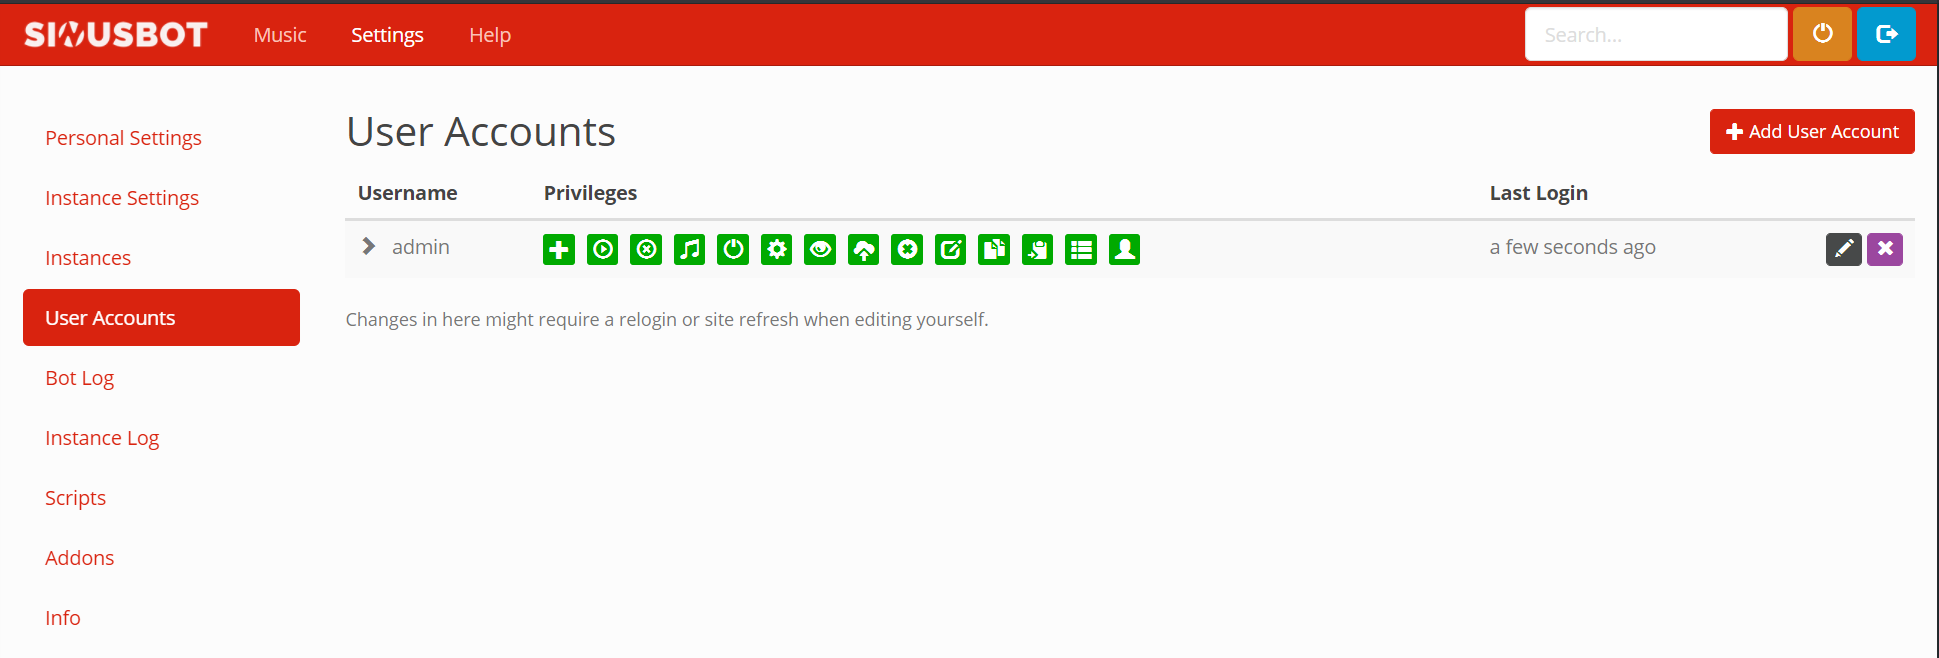
Now go to the "User Accounts" section and select the "Edit" button for the administrator account (the little pencil).
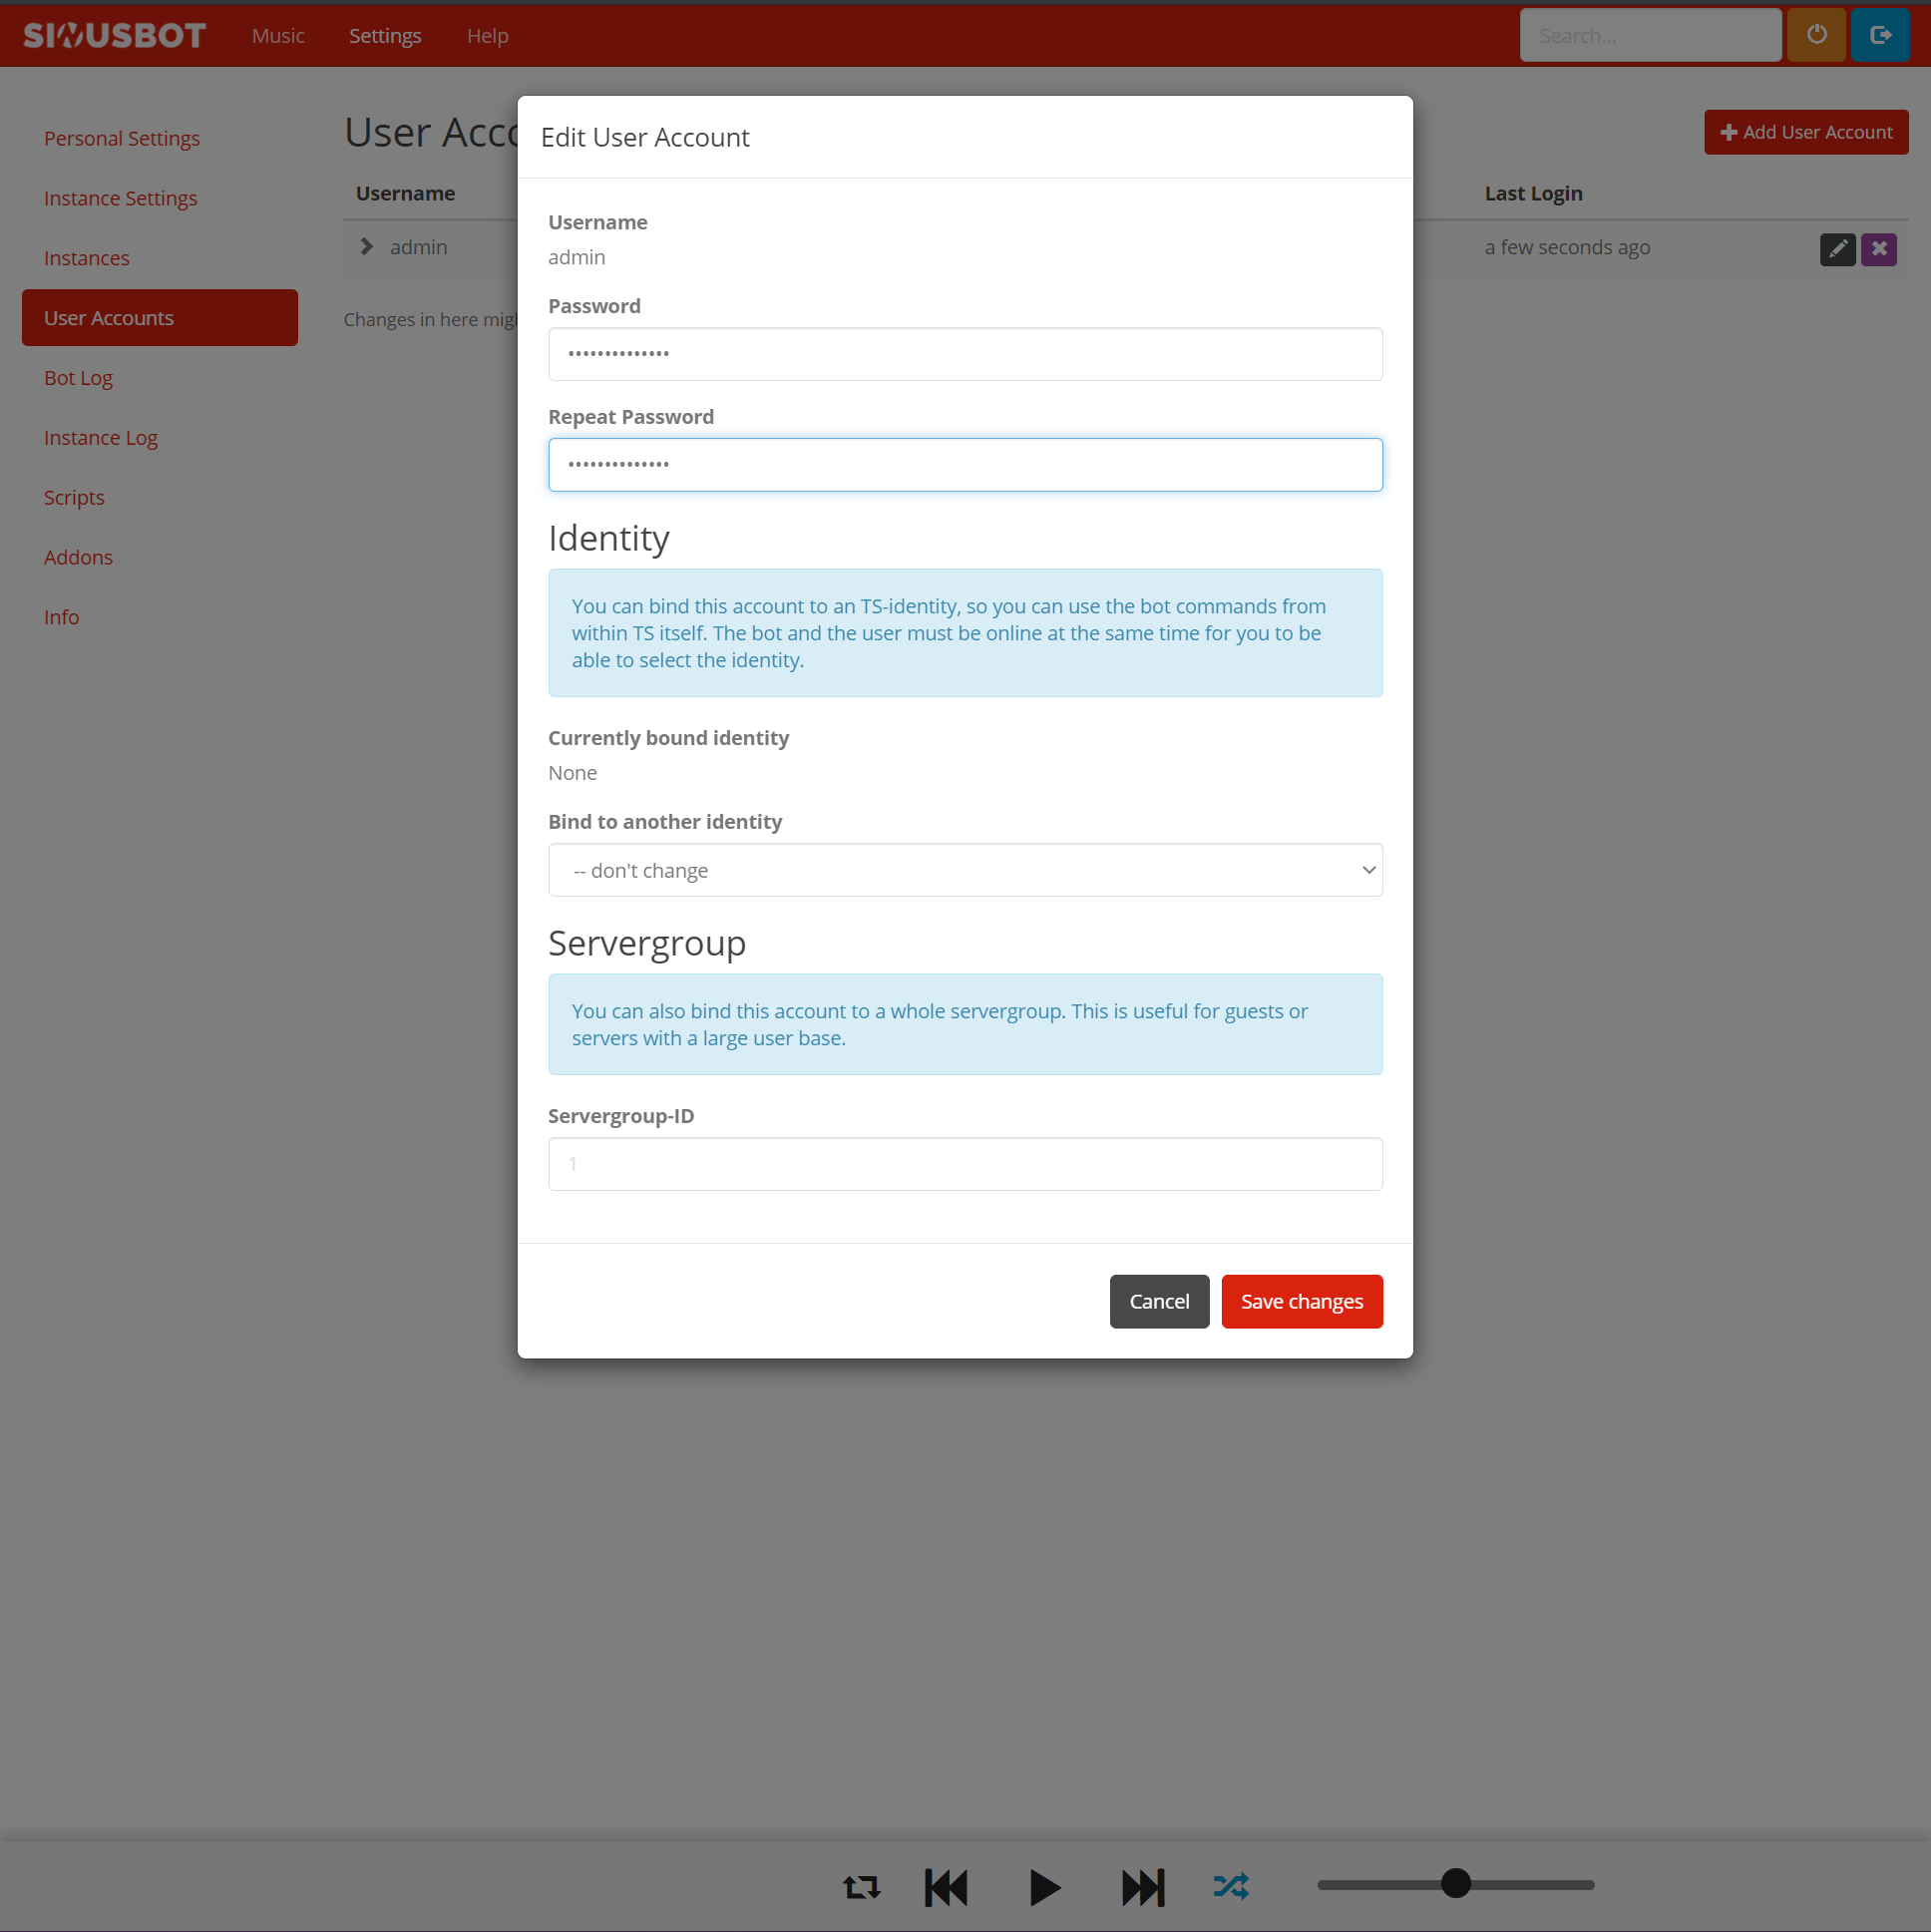
Now enter your desired password and repeat it again. Finally, go and save the changes.
Now stop the manually started server by pressing CTRL + C and start it again via the systemd unit (sudo systemctl start sinusbot.service). Go to the web interface, log in with the new credentials and press the power button in the top right corner. The bot should now appear on the same server. If you want to change the server you want the bot to appear on, go to the instance settings and set the IP / domain name accordingly.

Conclusion
Congratulations, you did it! Your own SinusBot is now ready to use and you can tell your friends and family to jump on it and have a chat while listening to music to your liking. Remember to update the bot regularly and you should be on the safe side.